Today we are going to walk you through the implementation of Center Stage as seen in Apple iPads, iMacs, and MacBooks. We will be using the following:
✅ MediaPipe to track the person
✅ OpenCV for computer vision functions
✅ VidStab for video stabilization
In our last post we saw how we can use hand gestures for controlling zoom calls using OpenCV and MediaPipe. In this post, we will implement a version of Apple’s Center Stage technology.
Center Stage uses Machine Learning and tracks the person using its ultrawide camera. Sounds too hard? Let us learn how to implement it, shall we?
- System Setup for Center Stage
- MediaPipe
- Detecting and Tracking the Region of Interest (ROI)
- Video Stabilisation using VidStab
- Code for implementing Center Stage
- Results
- Conclusion
1. System Setup for Center Stage
Implementing Center Stage requires a wide-angle camera, but not everyone has a wide-angle camera lying around in their cupboard. This code in the project can be implemented on any laptop or computer with a webcam.
1.1 Components of the System
We need four things to make this work.
- Location of the face
- ROI(Region Of Interest)
- Stabilized Output
- Integration with Zoom
The first two make sense but the third one might seem unnecessary. Stabilizing is the most important aspect.
The location of the face is necessary to make tracking possible. We need the value of a pixel on the face to track it.
ROI must be cropped out of the webcam frame and at least half the size of the original frame.
The stabilization ensures that the transition of the frame while following the person is very smooth otherwise, it will look very choppy and ruin the purpose of the Center Stage.
Integration with zoom can be easily done using pyvirtualcam. To know more check out our previous blog post.
1.2 MediaPipe for Motion Detection
For the location of the face, we will use MediaPipe. MediaPipe offers face_detection for face tracking which returns the value of points on the face.
1.3 Custom Code for Finding Region Of Interest
For ROI we will be writing custom code that moves the frame whenever motion is detected and also works when the person is away from the camera.
1.4 Video Stabilization using VidStab
Stabilization is very necessary when it comes to choppy frames. Whenever there is a movement of ROI it is not going to be smooth so we will require something to stabilize the movement of ROI. Let us jump into how we can implement this.
2. MediaPipe
MediaPipe is a Framework for building machine learning pipelines for processing time-series data like video, audio, etc. To learn more about it, check out our blog post on Introduction to Mediapipe.
2.1 Face Detection
Face Detection by mediapipe.
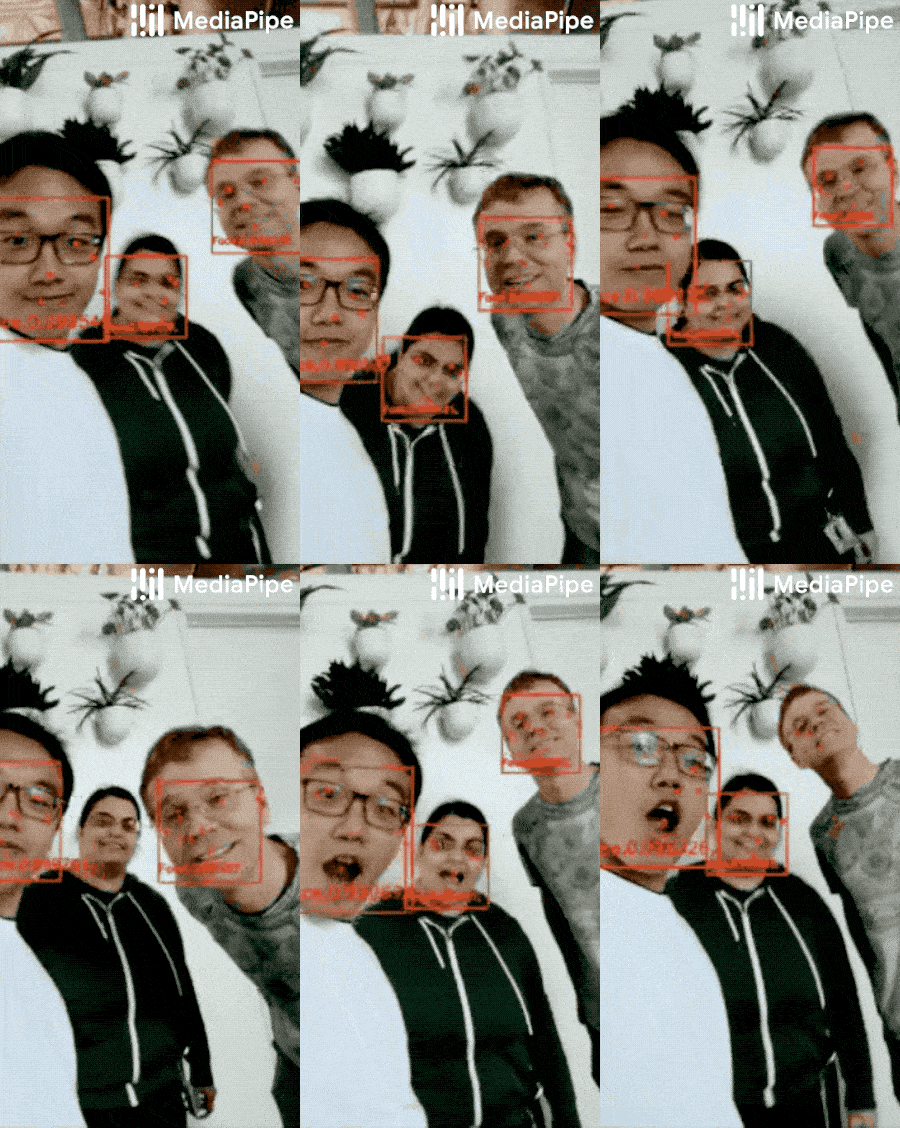
Face detection will return a proto message that contains a bounding box and 6 key points, and each key point corresponds to a number that fetches its location in the array.
This is what the output looks like.
[label_id: 0
score: 0.919319748878479
location_data {
  format: RELATIVE_BOUNDING_BOX
  relative_bounding_box {
    xmin: 0.37421131134033203
    ymin: 0.30910003185272217
    width: 0.32962566614151
    height: 0.4394763112068176
  }
  relative_keypoints {
    x: 0.4729466438293457
    y: 0.437053918838501
  }
  relative_keypoints {
    x: 0.6066942811012268
    y: 0.432010293006897
  }
  relative_keypoints {
    x: 0.543822705745697
    y: 0.5491837859153748
  }
  relative_keypoints {
    x: 0.5436693429946899
    y: 0.63396817445755
  }
  relative_keypoints {
    x: 0.397892028093338
    y: 0.46969300508499146
  }
  relative_keypoints {
    x: 0.6772758960723877
    y: 0.4609552025794983
  }
}
]
We are only interested in relative_keypoints.
- right eye-0
- left eye-1
- nose tip-2
- mouth center-3
- right ear tragion-4
- left ear tragion-5
We need three coordinates things from here.
- nose tip-2
- right ear tragion-4
- left ear tragion-5
The Nose tip will be used to get the location of the face. Right ear tragion and left ear tragion will be used for zooming purposes. Let us use these three coordinates for fetching the ROI.
mp_face_detection = mp.solutions.face_detection
    with mp_face_detection.FaceDetection(
            model_selection=1, min_detection_confidence=0.5) as face_detection:

        img.flags.writeable = False
        img = cv2.cvtColor(img, cv2.COLOR_BGR2RGB)
        results = face_detection.process(img)

        img = cv2.cvtColor(img, cv2.COLOR_RGB2BGR)

        # Set the default values to None
        coordinates = None
        zoom_transition = None
        if results.detections:
            for detection in results.detections:
                height, width, channels = img.shape

                # Fetch coordinates of nose, right ear and left ear
                nose = detection.location_data.relative_keypoints[2]
                right_ear = detection.location_data.relative_keypoints[4]
                left_ear = detection.location_data.relative_keypoints[5]

                #  get coordinates for right ear and left ear
                right_ear_x = int(right_ear.x * width)
                left_ear_x = int(left_ear.x * width)

                # Fetch coordinates for the nose and set as center
                center_x = int(nose.x * width)
                center_y = int(nose.y * height)
                coordinates = [center_x, center_y]
Note we need to make sure that we multiply the coordinates with the width and height of the image because relative_keypoints returns a value between 0 and 1.
3. Detecting and Tracking the Region of Interest (ROI)
Take a look at this cute cat picture
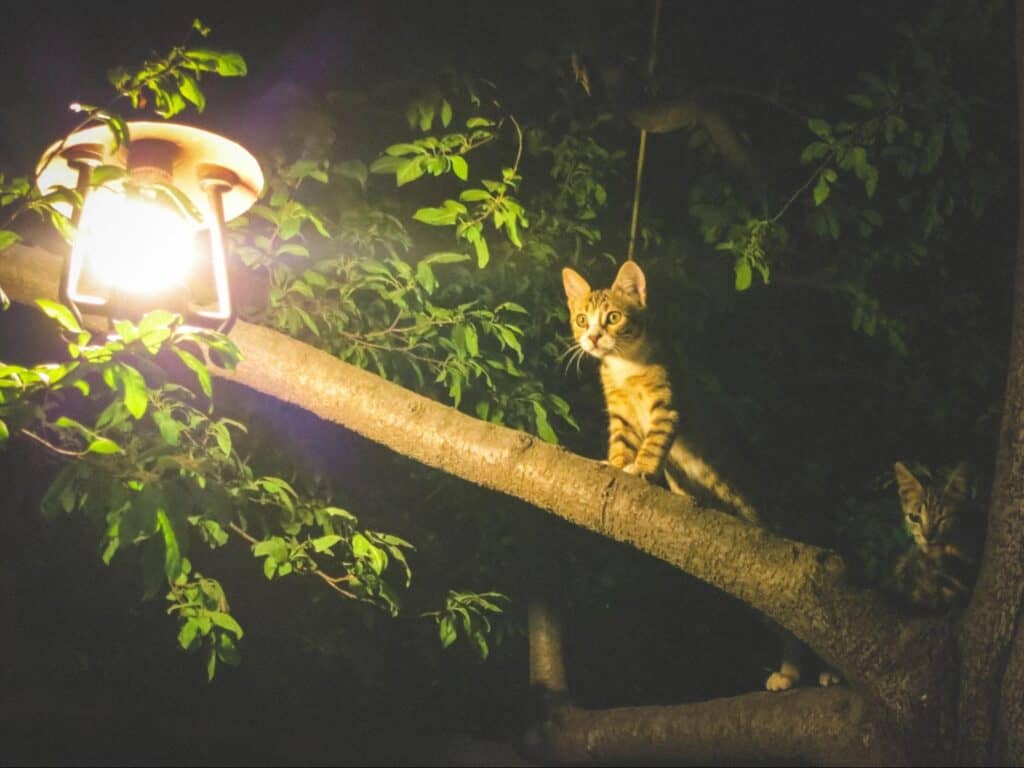
Source: stocksnap.io
Let us bring our focus only to the cat. Hence we need to crop out.
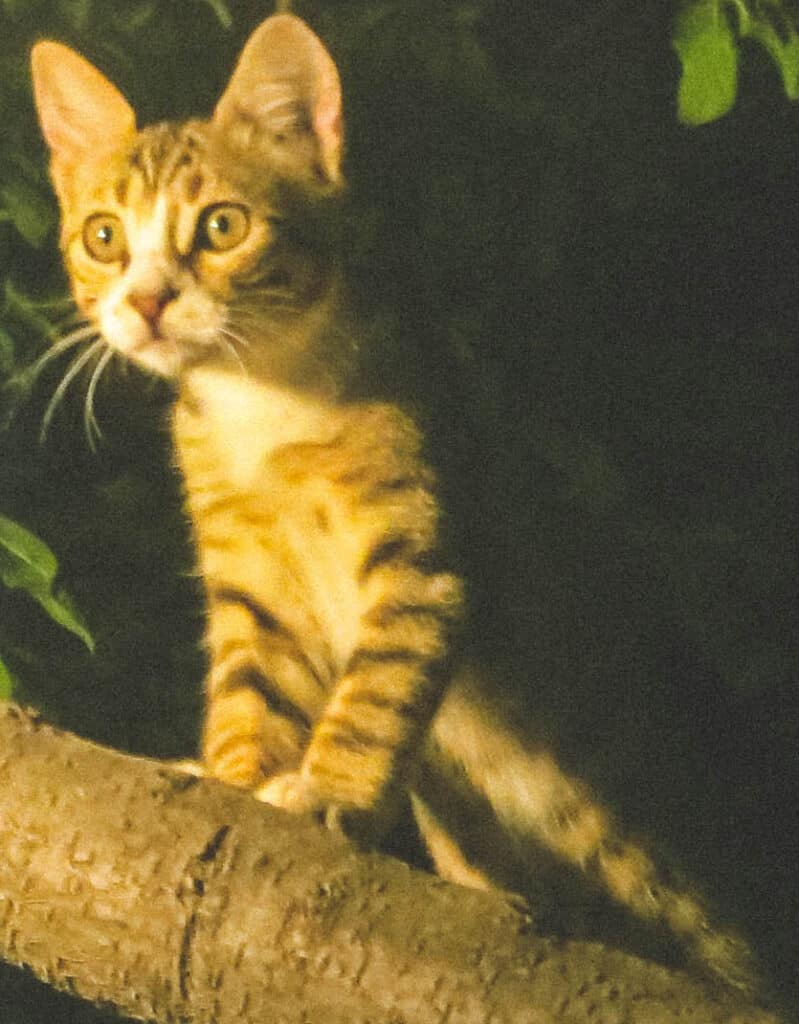
Region Of Interest or ROI
In our case, the region of interest is the person in the frame.
We need an algorithm that will automatically
- fetch us the ROI
- zoom in if the person is far from the camera
3.1 Near Camera
If the person is near the camera we fetch the coordinates of the nose, the left ear, and the right ear.
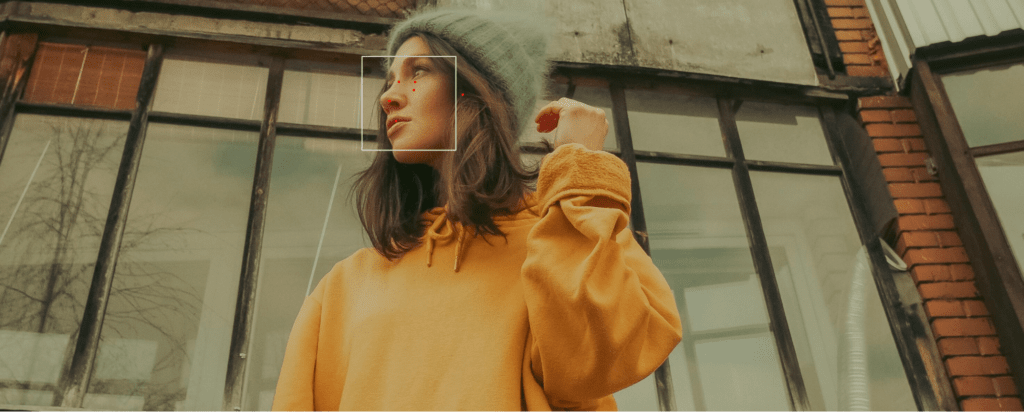
Source: Unsplash.com
We track the value of the nose and make sure that our camera frame moves on detection of change in coordinates. Currently, we have the following coordinates.
Nose tip:
x: 0.38050377368927
y: 0.2459903359413147

Left ear:
x: 0.4521227777004242
y: 0.22984343767166138

Right ear:
x: 0.4040358364582062
y: 0.2189599871635437
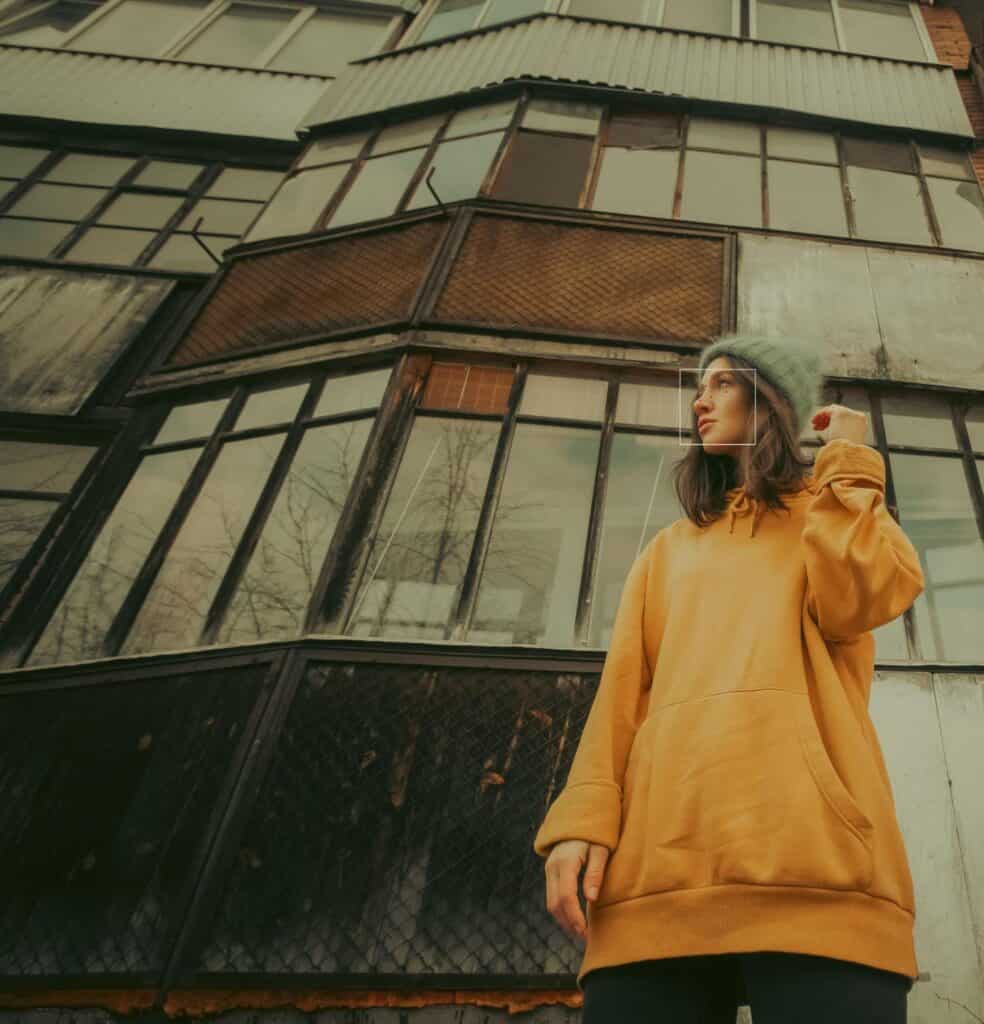
The difference between the y-coordinate of the left ear and the right ear is less than 0.01 away from Camera.
If the person/object is away from the camera, we need to fetch the coordinates of the left ear and the right ear and check the distance between them. If it passes a certain threshold, we confirm that the object is away from the image.
Nose tip:
x: 0.7117148637771606
y: 0.3911730945110321

Left ear:
x: 0.7758564352989197
y: 0.40252548456192017

Right ear:
x: 0.722640335559845
y: 0.38772353529930115
The difference in the Y-coordinate of the left ear and the right ear in this image is approximately 0.1 we can use this information to keep a threshold of say 0.08 x width, which means if the difference between the left ear and the right ear is more than 0.08 x width we need to zoom in the same way andif the difference is less than 0.08 x width we need to zoom out.
# Check the distance between left ear and right ear if distance is less than 120 pixels zoom in
                if (left_ear_y - right_ear_y) < 120:
                    zoom_transition = 'transition'
Here is the code.
def zoom_at(image, coord=None, zoom_type=None):
    """
    Args:
        image: frame captured by camera
        coord: coordinates of face(nose)
        zoom_type:Is it a transition or normal zoom
    Returns:
        Image with cropped image
    """
    global gb_zoom
    # If zoom_type is transition check if Zoom is already done else zoom by 0.1 in current frame
    if zoom_type == 'transition' and gb_zoom < 3.0:
        gb_zoom = gb_zoom + 0.1

    # If zoom_type is normal zoom check if zoom more than 1.4 if soo zoom out by 0.1 in each frame
    if gb_zoom != 1.4 and zoom_type is None:
        gb_zoom = gb_zoom - 0.1

    zoom = gb_zoom
    # If coordinates to zoom around are not specified, default to center of the frame
    cy, cx = [i / 2 for i in image.shape[:-1]] if coord is None else coord[::-1]

    # Scaling the image using getRotationMatrix2D to appropriate zoom
    rot_mat = cv2.getRotationMatrix2D((cx, cy), 0, zoom)

    # Use warpAffine to make sure that  lines remain parallel
    result = cv2.warpAffine(image, rot_mat, image.shape[1::-1], flags=cv2.INTER_LINEAR)
    return result
We have a global variable gb_zoom that contains the current zoom level. It is set to default i.e 1.4. If the subject is away , image transition is detected and slow zoom-in occurs.
If the subject comes closer after being away, a smooth zooming out occurs. If the coordinates i.e the position of the nose, is not mentioned, we default to the center of the image.
here is where the cropping magic occurs with the getRotationMatrix2D to get the rotation matrix which is made to zoom into the point and apply it to our image using warpAffine.
4. Video Stabilization using VidStab
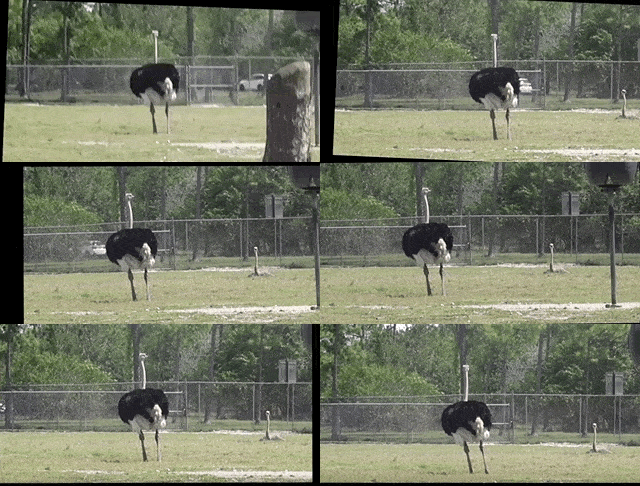
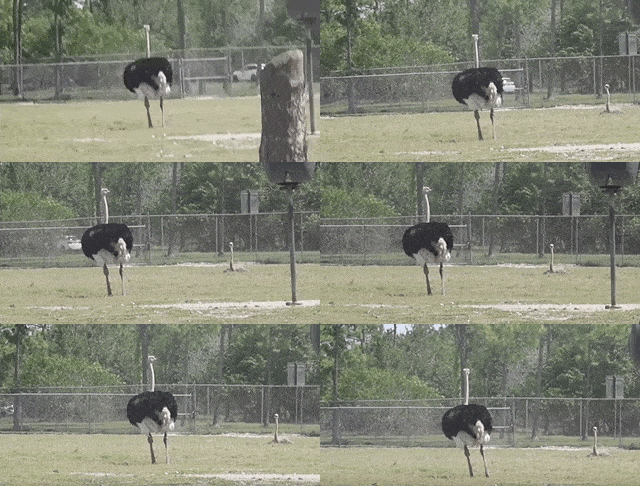
The above videos clearly demonstrate the role of Stabilization.. We can see how the video on the left has very sharp transitions and moves a lot while the image on the right is very smooth and stable. Note that the black strips in the second video can be removed with cropping. We will be using VidStab to do it for us.
device_val = None
stabiliser = VidStab()
img = stabilizer.stabilize_frame(input_frame=img,
                                            smoothing_window=2)
5. Code for implementing Center Stage
5.1 Setting Up the Development Environment
Create a new folder and in it a file called requirements.txt.
Add the following contents to this file.
absl-py==1.1.0
attrs==21.4.0
cycler==0.11.0
fonttools==4.34.3
kiwisolver==1.4.3
matplotlib==3.5.2
mediapipe==0.8.10.1
numpy==1.23.0
opencv-contrib-python==4.6.0.66
packaging==21.3
Pillow==9.2.0
protobuf==3.20.1
pyparsing==3.0.9
python-dateutil==2.8.2
six==1.16.0
Now, run the following commands.
python3 -m venv <foldername>
source <foldername>/bin/activate
pip3 install -r requirements.txt
5.2 Setting Up the virtual camera and Code
Virtual Camera Setup
For linux:- Install v4l2loopback
Note: Follow the documentation of pyvirtualcam, whether you are on windows or mac.
sudo modprobe v4l2loopback
Folder Structure
Create an empty Python file, in line with the structure given below.
.
├── main.py
├── requirements.txt
Now for the fun stuff, let’s get to some coding!
import cv2
import mediapipe as mp
from vidstab import VidStab
from pyvirtualcam import PixelFormat
import pyvirtualcam
import platform

# global variables
gb_zoom = 1.4


def zoom_at(image, coord=None, zoom_type=None):
    """
    Args:
        image: frame captured by camera
        coord: coordinates of face(nose)
        zoom_type:Is it a transition or normal zoom
    Returns:
        Image with cropped image
    """
    global gb_zoom
    # If zoom_type is transition check if Zoom is already done else zoom by 0.1 in current frame
    if zoom_type == 'transition' and gb_zoom < 3.0:
        gb_zoom = gb_zoom + 0.1

    # If zoom_type is normal zoom check if zoom more than 1.4 if soo zoom out by 0.1 in each frame
    if gb_zoom != 1.4 and zoom_type is None:
        gb_zoom = gb_zoom - 0.1

    zoom = gb_zoom
    # If coordinates to zoom around are not specified, default to center of the frame.
cy, cx = [i / 2 for i in image.shape[:-1]] if coord is None else coord[::-1]

    # Scaling the image using getRotationMatrix2D to appropriate zoom.
    rot_mat = cv2.getRotationMatrix2D((cx, cy), 0, zoom)

    # Use warpAffine to make sure that  lines remain parallel
    result = cv2.warpAffine(image, rot_mat, image.shape[1::-1], flags=cv2.INTER_LINEAR)
    return result


def frame_manipulate(img):
    """
    Args:
        image: frame captured by camera
    Returns:
        Image with manipulated output
    """
    # Mediapipe face set up
    mp_face_detection = mp.solutions.face_detection
    with mp_face_detection.FaceDetection(
            model_selection=1, min_detection_confidence=0.5) as face_detection:

        img.flags.writeable = False
        img = cv2.cvtColor(img, cv2.COLOR_BGR2RGB)
        results = face_detection.process(img)

        img = cv2.cvtColor(img, cv2.COLOR_RGB2BGR)

        # Set the default values to None
        coordinates = None
        zoom_transition = None
        if results.detections:
            for detection in results.detections:
                height, width, channels = img.shape

                # Fetch coordinates of nose, right ear and left ear
                nose = detection.location_data.relative_keypoints[2]
                right_ear = detection.location_data.relative_keypoints[4]
                left_ear = detection.location_data.relative_keypoints[5]

                #  get coordinates for right ear and left ear
                right_ear_x = int(right_ear.x * width)
                left_ear_x = int(left_ear.x * width)

                # Fetch coordinates for the nose and set as center
                center_x = int(nose.x * width)
                center_y = int(nose.y * height)
                coordinates = [center_x, center_y]
# Check the distance between left ear and right ear if distance is less than 120 pixels zoom in
                if (left_ear_x - right_ear_x) < 120:
                    zoom_transition = 'transition'

        # Perform zoom on the image
        img = zoom_at(img, coord=coordinates, zoom_type=zoom_transition)

    return img


def main():
    # Video Stabilizer
    device_val = None
    stabilizer = VidStab()

    # For webcam input:
    cap = cv2.VideoCapture(0)
    cap.set(cv2.CAP_PROP_FRAME_WIDTH, 1280)  # set new dimensions to cam object (not cap)
    cap.set(cv2.CAP_PROP_FRAME_HEIGHT, 720)
    cap.set(cv2.CAP_PROP_FPS, 120)

    # Check OS
    os = platform.system()
    if os == "Linux":
        device_val = "/dev/video2"

    # Start virtual camera
    with pyvirtualcam.Camera(1280, 720, 120, device=device_val, fmt=PixelFormat.BGR) as cam:
        print('Virtual camera device: ' + cam.device)

        while True:
            success, img = cap.read()
            img = frame_manipulate(img)
            # Stabilize the image to make sure that the changes with Zoom are very smooth
            img = stabilizer.stabilize_frame(input_frame=img,
                                            smoothing_window=2, border_size=-20)
            # Resize the image to make sure it does not crash pyvirtualcam
            img = cv2.resize(img, (1280, 720),
                            interpolation=cv2.INTER_CUBIC)

            cam.send(img)
            cam.sleep_until_next_frame()


if __name__ == '__main__':
    main()
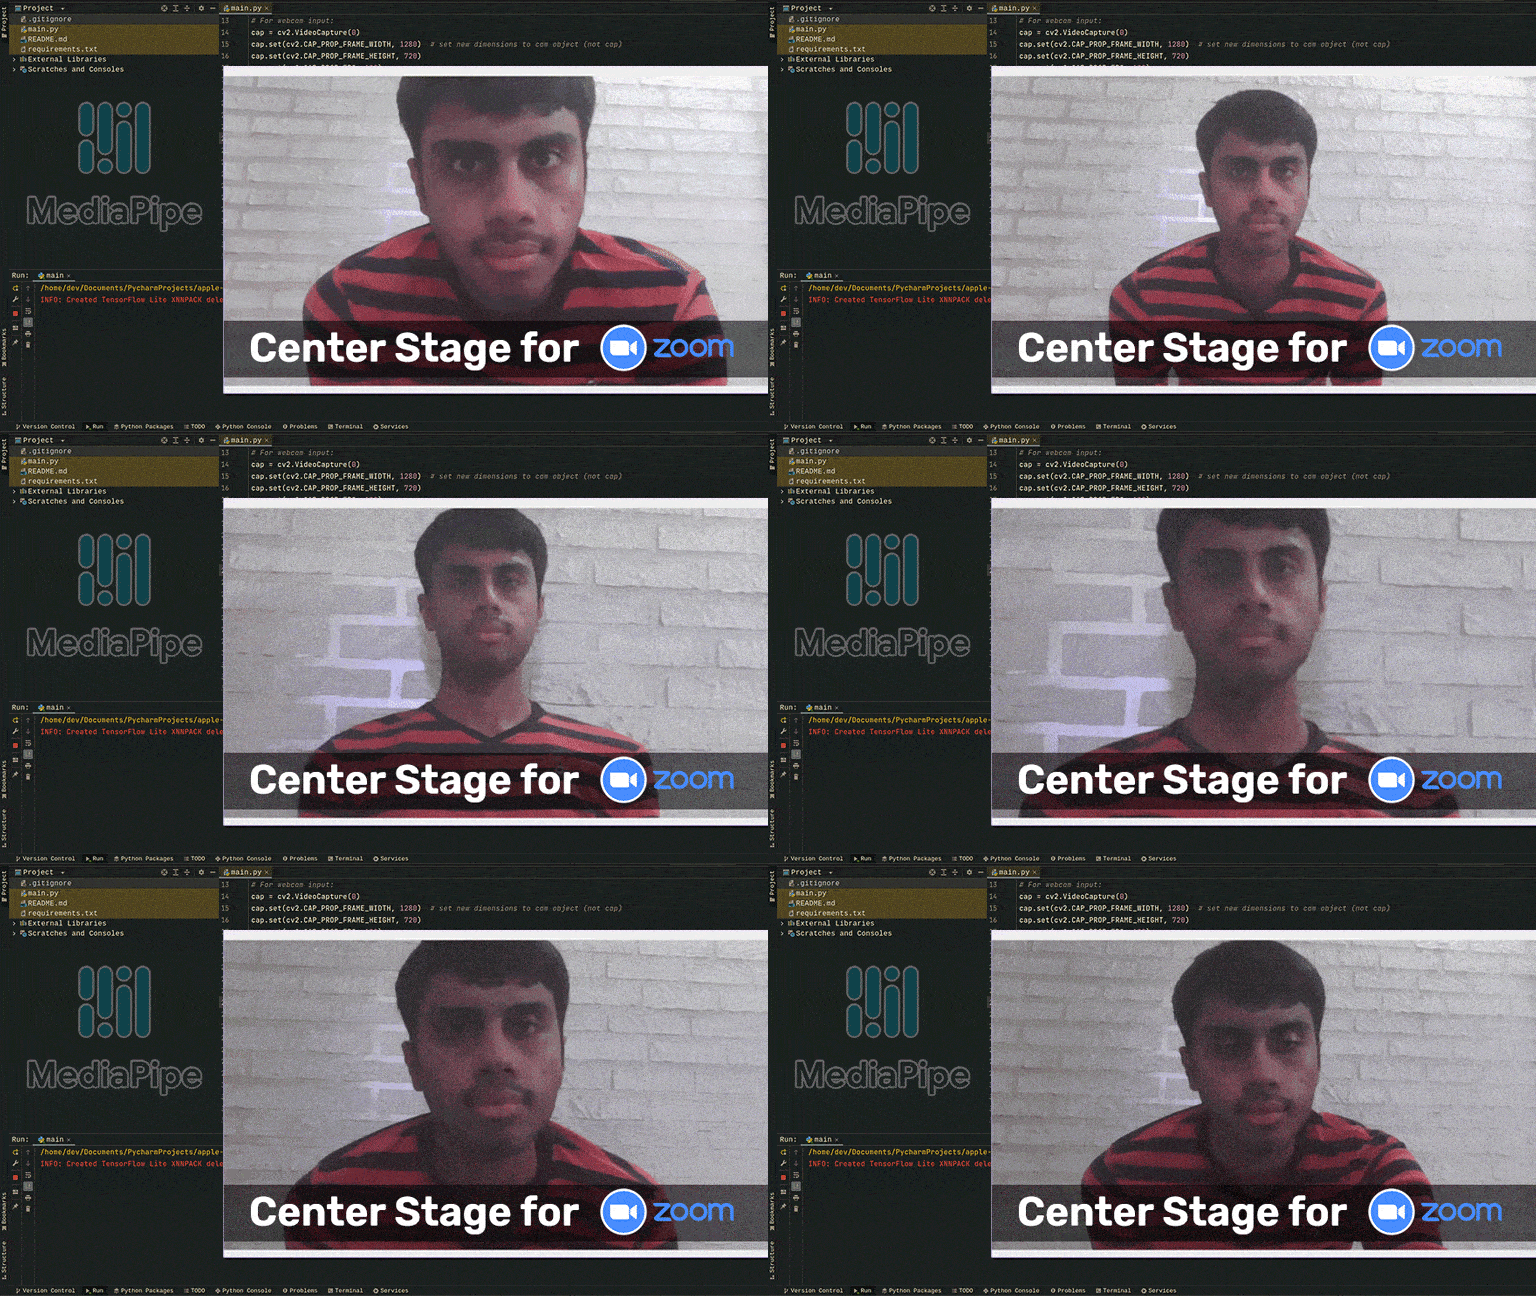
6. Results
7. Conclusion
Hurray! You have successfully implemented Center Stage without a wide-angle camera.
Note: This is just a very basic implementation of Center Stage, what Apple has done depends on a lot of Hardware This is my approach to make it hardware independent.
Bonus Tip: Besides Zoom, this program also works on any other software that can detect and use virtual cameras.
More on Mediapipe
| Hang on, the journey doesn’t end here. After months of development, we have some new and exciting blog posts for you!!! 1. Building a Poor Body Posture Detection and Alert System using MediaPipe 2. Creating Snapchat/Instagram filters using Mediapipe 3. Gesture Control in Zoom Call using Mediapipe 4. Drowsy Driver Detection using Mediapipe 5. Comparing Yolov7 and Mediapipe Pose Estimation models Never Stop Learning!!! |



100K+ Learners
Join Free OpenCV Bootcamp3 Hours of Learning