In this blog post, we will be installing OpenCV on Windows for C++ and Python. The C++ installation is done with the help of custom setup exe files. Whereas Python installation is done with Anaconda.
Installing OpenCV from source takes up a lot of time. Depending on your hardware, and the installation configuration, it can take anywhere from 5 minutes up to 2 hours.
Moreover, the installation is not a cakewalk. Hence, we have come up with a solution for Windows users – OpenCV Windows installers. These installers will only work for installing OpenCV for C++. If you want to install OpenCV for Python, you’ll find the information later in the blog.
If you want to install OpenCV 4 on Windows from source, then check out this blog post.
Table of Contents
Install OpenCV on Windows for CPP
Step 1: Prerequisites
Step 2: Download the Installer
Once you have set up Visual Studio on your system, download the installer according to the Visual Studio version you have installed.
OpenCV Version | Visual Studio 16 | Visual Studio 15 | Visual Studio 14 |
---|---|---|---|
OpenCV-4.5.0 | OpenCV-4.5.0-vc16.exe | OpenCV-4.5.0-vc15.exe | OpenCV-4.5.0-vc14.exe |
OpenCV-4.4.0 | OpenCV-4.4.0-vc16.exe | OpenCV-4.4.0-vc15.exe | OpenCV-4.4.0-vc14.exe |
OpenCV-4.1.0 | OpenCV-4.1.0-vc16.exe | OpenCV-4.1.0-vc15.exe | OpenCV-4.1.0-vc14.exe |
Step 3: Install OpenCV on Windows
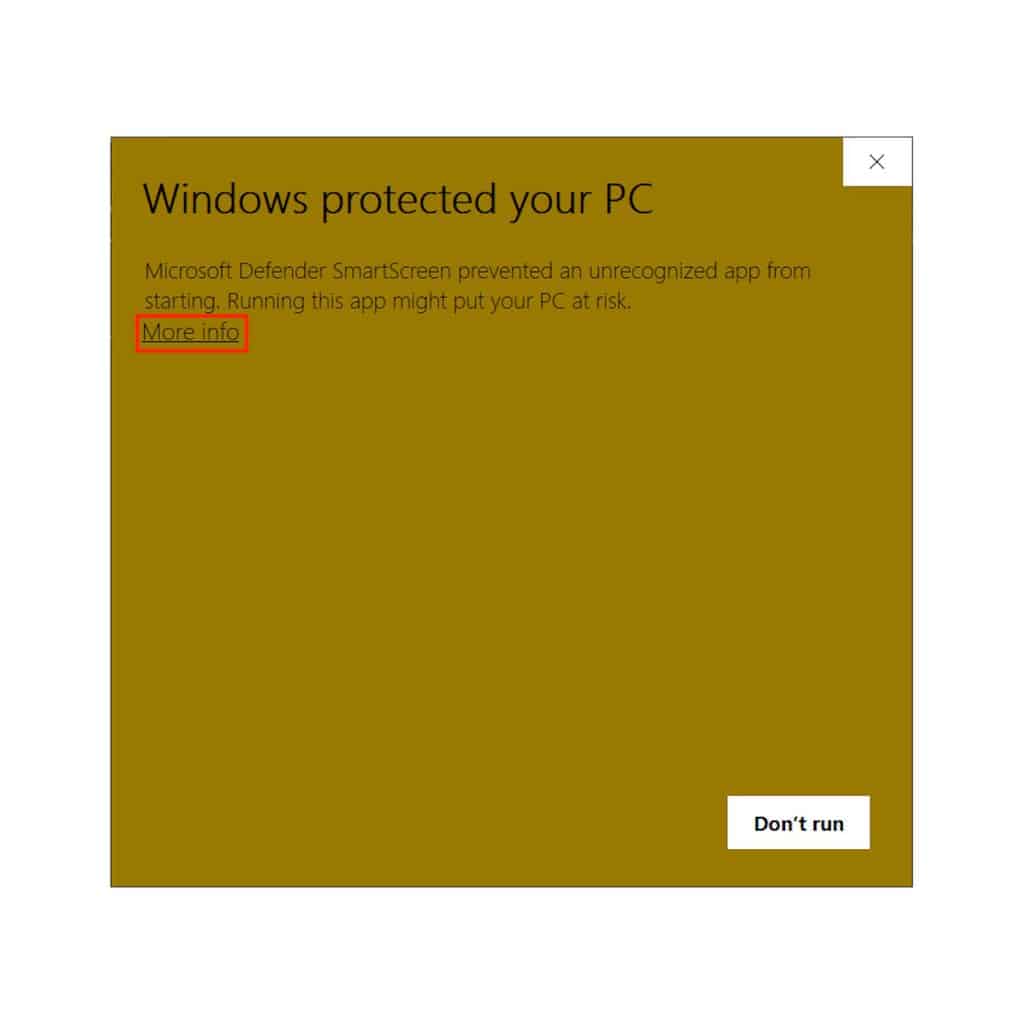
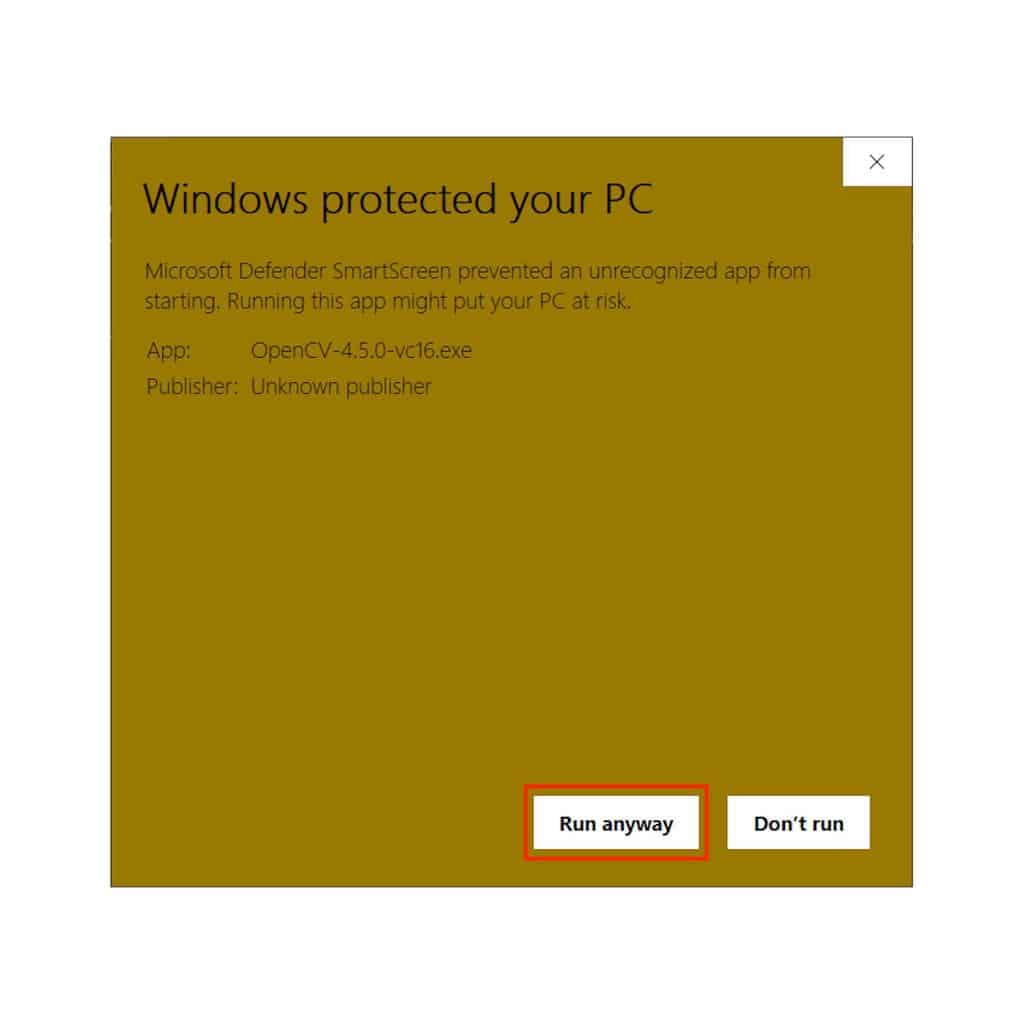
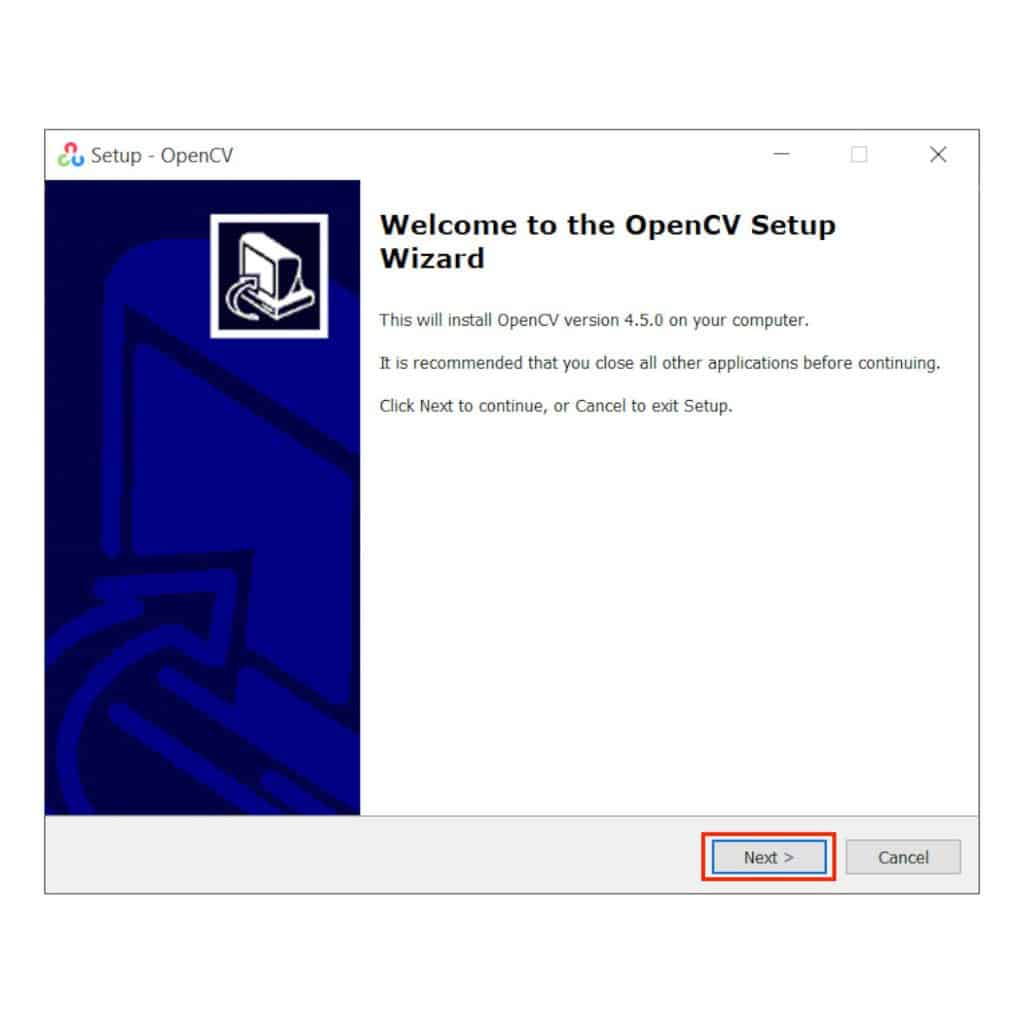
The installer starts with a welcome screen. Click on Next to read the License.
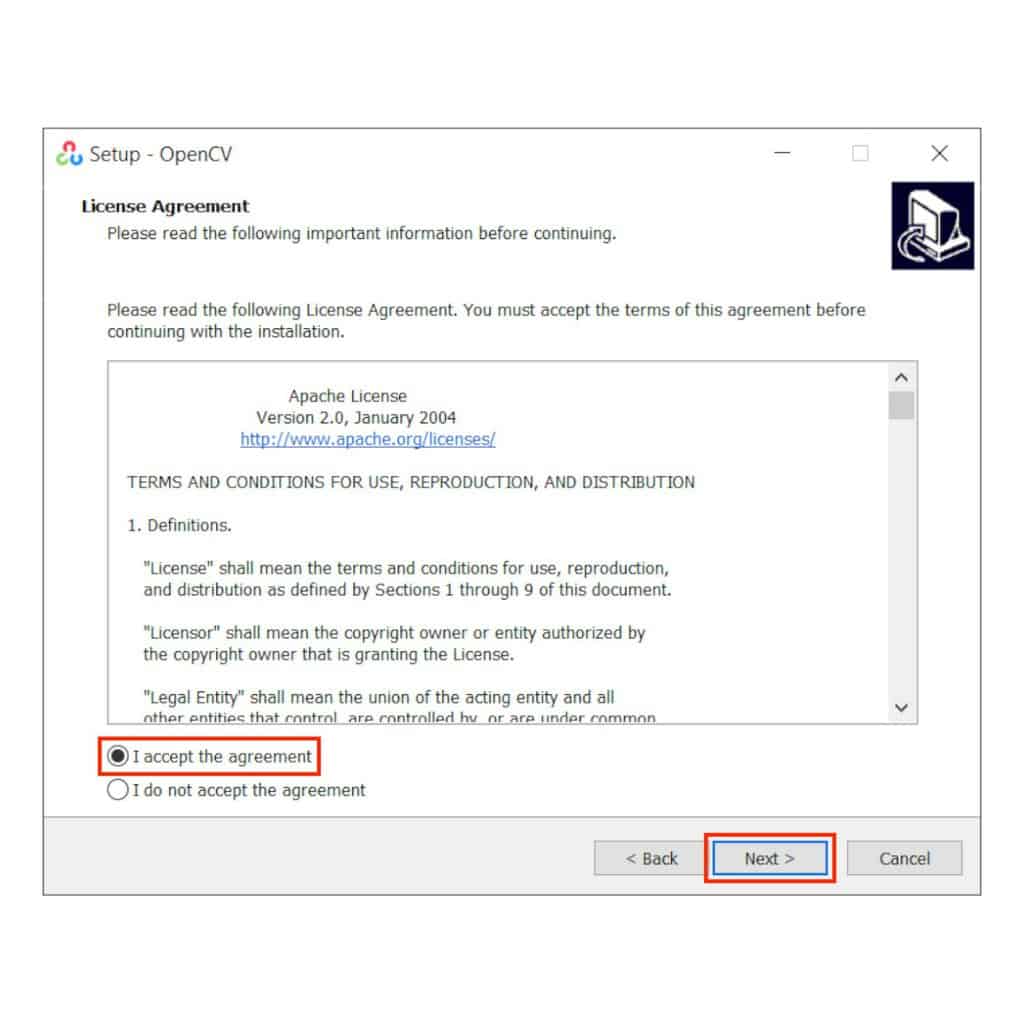
If you accept the license, click on I accept the agreement and click on Next.
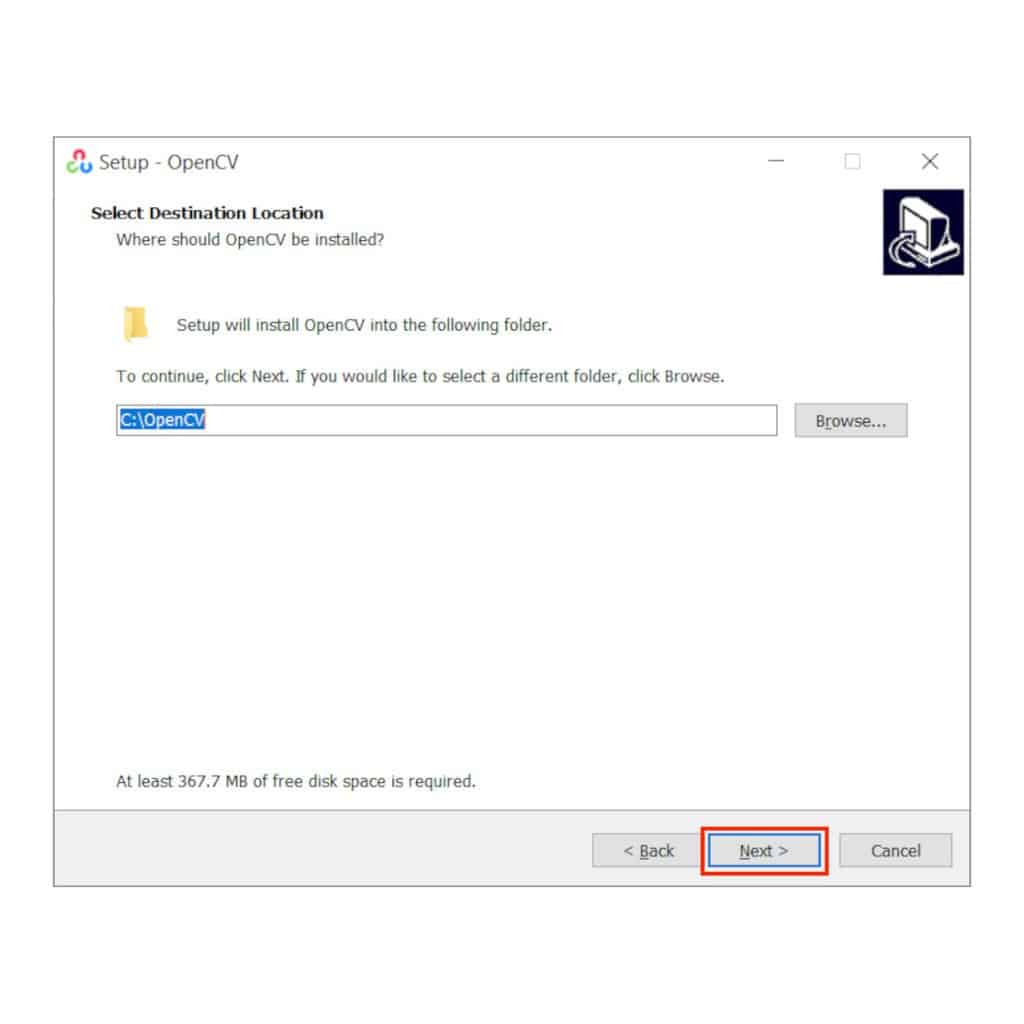
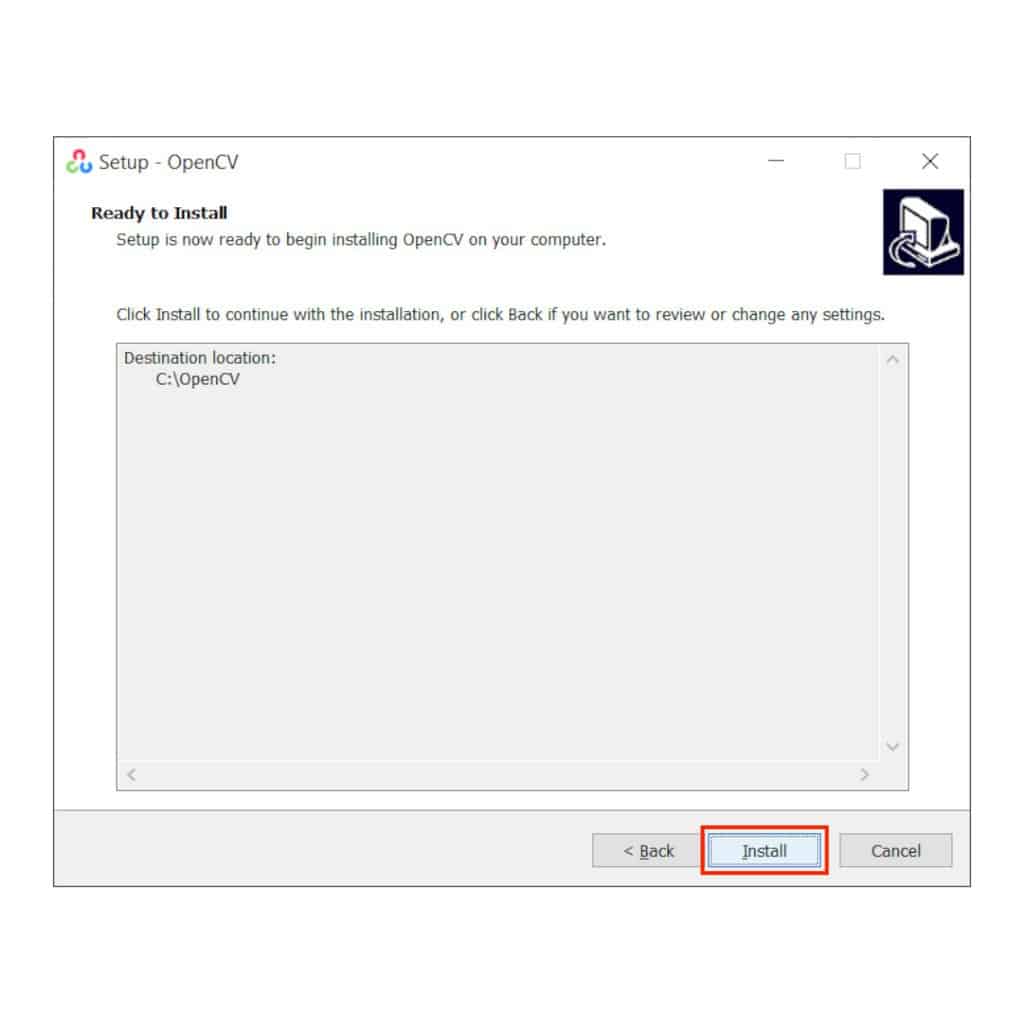
C:
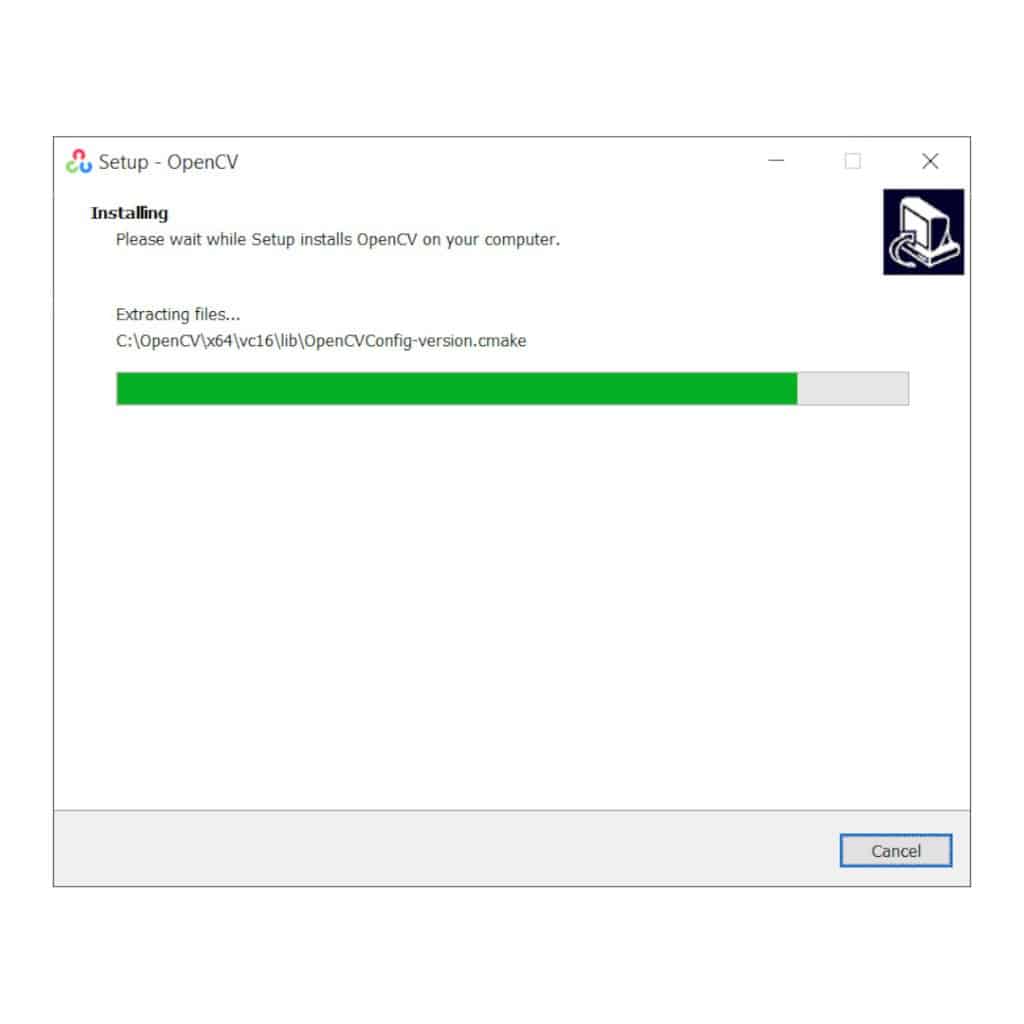
.Finally, the installer will ask you for confirmation to install OpenCV on the system. Click on Install to continue.
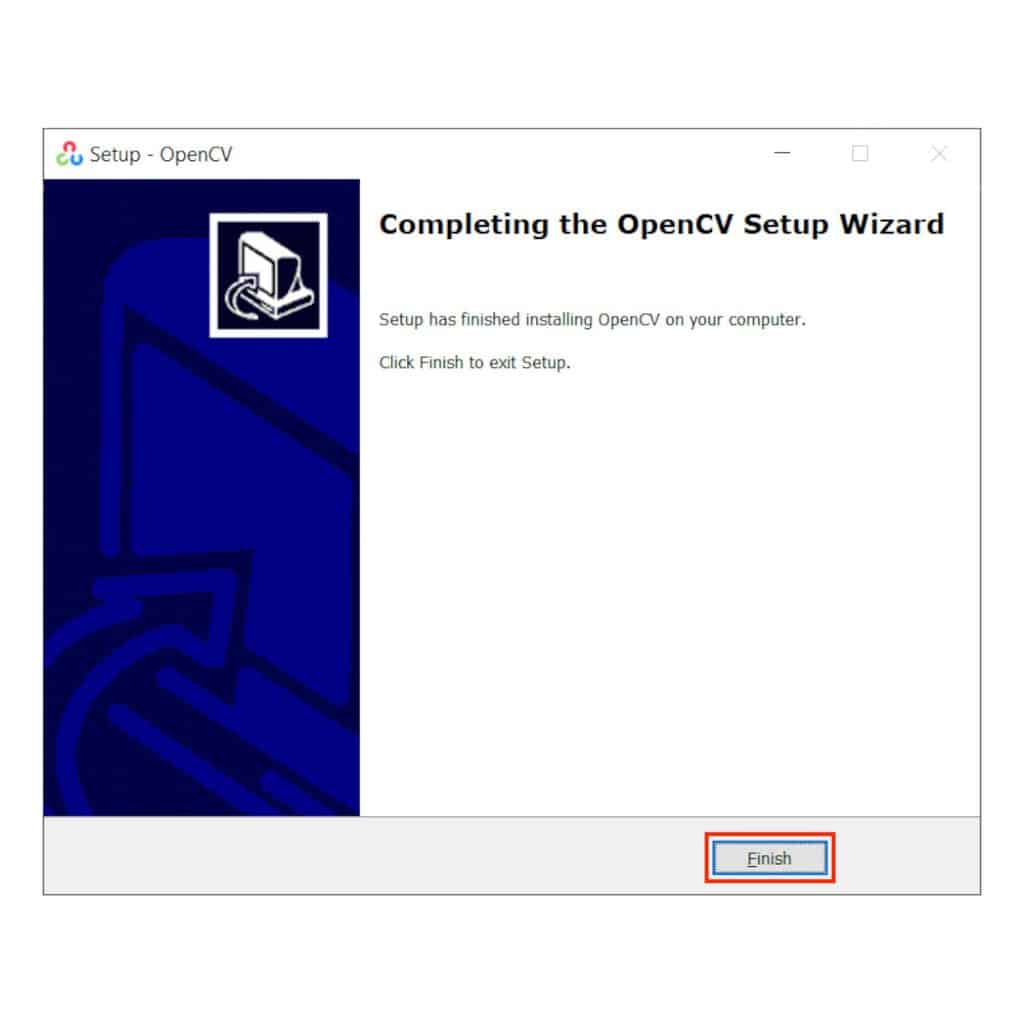
After OpenCV is installed, you can exit the installer.
Step 4: Execute a sample code
Once the OpenCV installation is completed, you can start coding right away. We have provided with a sample code to test the installation. Below is the code snippet.
#include <opencv2/opencv.hpp>
using namespace cv;
int main(void) {
// Read image in GrayScale mode
Mat image = imread("boy.jpg", 0);
// Save grayscale image
imwrite("boyGray.jpg", image);
// To display the image
imshow("Grayscale Image", image);
waitKey(0);
return 0;
}
If you plan on executing C++ code using Cmake, then download and install from here (windows win64-x64 Installer), and follow instructions below. The third line specifies the Visual Studio version on your system.
mkdir build
cd build
cmake -G "Visual Studio 16 2019" ..
cmake --build . --config Release
cd ..
.\build\Release\sampleCode.exe
The above code reads an input image as grayscale, writes it to the disk, and displays it. Following are input and output to the code.
How are the installers different from Official OpenCV Installers for Windows
These are general-purpose installers, which can install and uninstall OpenCV in under 15 seconds. It’s a quick and clean approach to install OpenCV for your Windows system. You can test out the latest OpenCV version and see if it’s for you. Otherwise, you can install OpenCV without configuring and waiting for hours on end for it to install.
Although the installers are useful for new users, or users who want one-click install, or simply for the ones who struggle with the installation, but these are not the official installers. You can find the official OpenCV binaries from here. There are differences between the installers which we provide and the OpenCV official binaries
- Contrib modules: The official binaries do not contain
opencv_contrib
modules. The installer which we provide does. - Additional setup: The official binaries require additional setup, i.e., editing the environment variables, and using the correct folder address. Our installers will not require additional setup.
- Size: Official binaries are larger in size. They take about 1.21GB. The installers which we provide take around 367MB.
- List of libraries: If you code in Visual Studio, we have provided you with the list of libraries, in Debug and Release mode, as a separate text file. It is available in the root directory of the installation.
- No availability for VS16: The official binaries are not available for VS16, only for VS14 and VS15. Our installers are created for VS14, VS15, and VS16.
Install OpenCV on Windows for Python
Step 1: Install Anaconda for Python 3
Download and install Anaconda Python 3 version from Anaconda’s download page.
While installing Anaconda make sure that you check both options:
- Add Anaconda to my
PATH
environment variable - Register Anaconda as my default Python
Step 2: Create a Virtual Environment
We will use Virtual Environment to install Python libraries. It is generally a good practice in order to separate your project environment and global environment.
Open the command prompt
or Power shell
and execute the following command.
conda create --name virtualenv python=3.8
Step 3: Install OpenCV on Windows
Activate the environment we created just now (virtualenv
) and install all the required libraries using the commands below.
conda activate virtualenv
pip install opencv-contrib-python
And that’s it. OpenCV has been installed on your system. To close the virtual environment, use conda deactivate
.
Step 4: Test Installation
Next, we will check whether the installation was successful. From the command prompt execute the following commands.
# activate environment
conda activate virtualenv
# start python prompt
python
# import cv2 and print version
import cv2
print(cv2.__version__)
# If OpenCV is installed correctly, the above command should output OpenCV version.
# Exit and deactivate environment
exit()
conda deactivate
Summary
In this blog post, we installed OpenCV on Windows with the quickest and easiest method. For C++, we used a simple .exe installer and installed in under 30 seconds. For Python, we used Anaconda as the package manager and installed OpenCV in a virtual environment. We also executed sample programs for both, C++ and Python, to test the installation. This concludes the OpenCV installation.