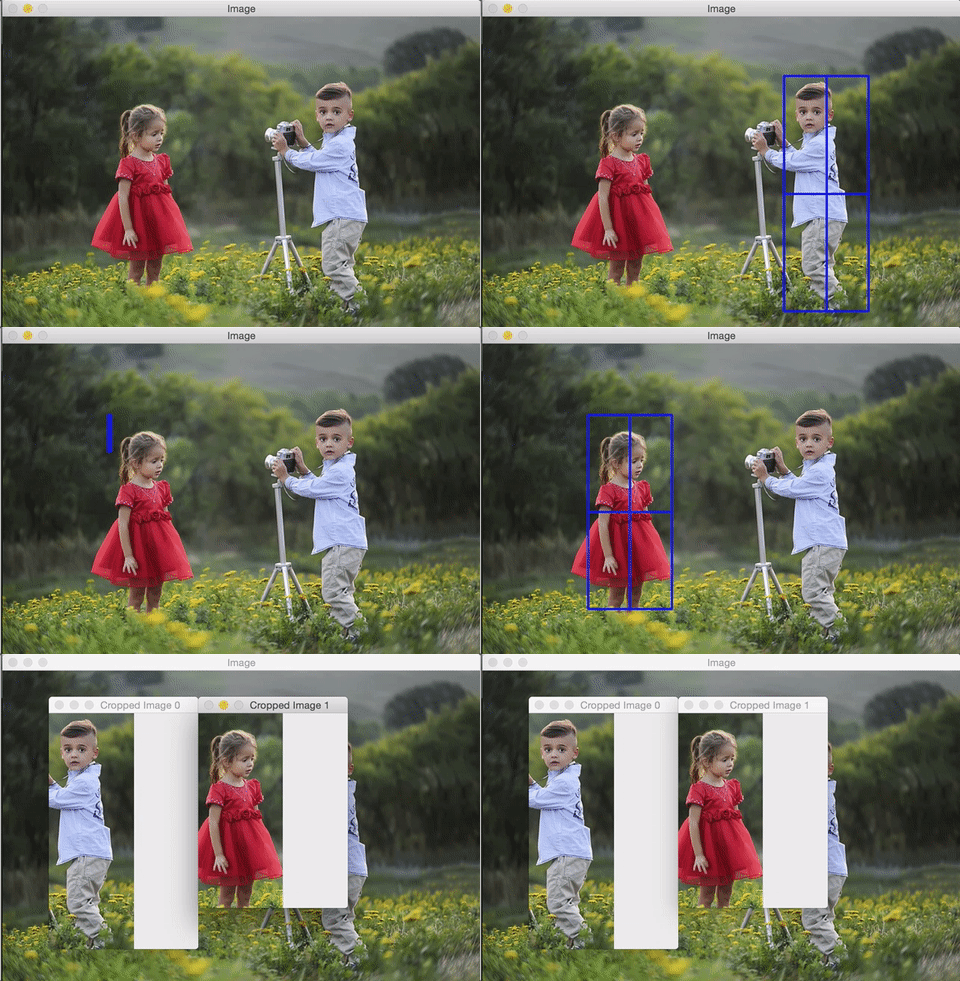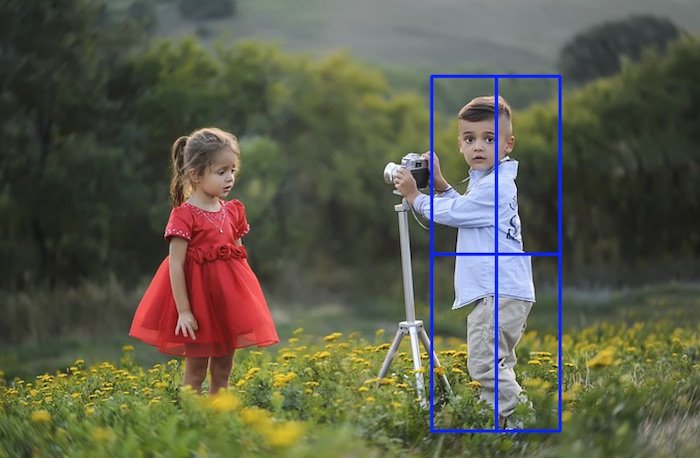
In this tutorial, we will learn how to select a bounding box or a rectangular region of interest (ROI) in an image in OpenCV. In the past, we had to write our own bounding box selector by handling mouse events. However, now we have the option of using a function selectROI that is natively part of OpenCV.
I am always amazed by the weird choices made in the OpenCV library. You would think that selectROI would be part of highgui which has functions for displaying images, drawing on images etc. However, selectROI is part of the tracking API! As you will notice later in the post, the choices made while writing selectROI are odd. But, before we criticize, we gotta be thankful that someone produced something useful even though it is not perfect.
Let’s dive in and see the usage of selectROI
How to select a region of interest in OpenCV
As selectROI is part of the tracking API, you must have OpenCV 3.0 ( or above ) installed with opencv_contrib.
Let’s start with a sample code. It allows you to select a rectangle in an image, crop the rectangular region and finally display the cropped image.
We will modify the highlighted line to try different options.
C++
#include <opencv2/opencv.hpp>
// selectROI is part of tracking API
#include <opencv2/tracking.hpp>

using namespace std;
using namespace cv;

int main (int argc, char **arv)
{
    // Read image
    Mat im = imread("image.jpg");

    // Select ROI
    Rect2d r = selectROI(im);

    // Crop image
    Mat imCrop = im(r);

    // Display Cropped Image
    imshow("Image", imCrop);
    waitKey(0);

    return 0;
}
The same code can be written in Python as
Python
import cv2
import numpy as np

if __name__ == '__main__' :

    # Read image
    im = cv2.imread("image.jpg")

    # Select ROI
    r = cv2.selectROI(im)

    # Crop image
    imCrop = im[int(r[1]):int(r[1]+r[3]), int(r[0]):int(r[0]+r[2])]

    # Display cropped image
    cv2.imshow("Image", imCrop)
    cv2.waitKey(0)
Drag Rectangle From Top Left to Bottom Right
If you are like me, you would prefer to drag a rectangle from the top left corner to the bottom right corner instead of dragging it from the center. We can easily fix that by replacing the highlighted line with the following line.
C++
bool fromCenter = false;
Rect2d r = selectROI(im, fromCenter);
Python
fromCenter = False
r = cv2.selectROI(im, fromCenter)
How to Specify The Window Name?
Won’t it be nice if you could use an existing window instead of ROI selector’s window? Well, here you go.
C++
bool fromCenter = false;
Rect2d r = selectROI("Image", im, fromCenter);
Python
fromCenter = False
r = cv2.selectROI("Image", im, fromCenter)
Don’t want to show crosshair?
Suppose you do not like the crosshair and want to see the rectangle without it. You can modify the code not to show the crosshair.
C++
bool showCrosshair = false;
bool fromCenter = false;
Rect2d r = selectROI("Image", im, fromCenter, showCrosshair);
Python
showCrosshair = False
fromCenter = False
r = cv2.selectROI("Image", im, fromCenter, showCrosshair)
How to Select Multiple Regions of Interest (ROI) of an Image?
The function selectROI also allows you to select multiple regions of interest, but there appear to be two bugs.
Bug Alert 1: As per the instructions, you can drag a rectangle and then press ENTER and drag another rectangle. However, there appears to be a bug in the implementation in OpenCV 3.2. You have to hit ENTER twice after the first rectangle. For all subsequent rectangles, you should hit ENTER once.
C++
// Specify a vector of rectangles (ROI)
vector<Rect2d> rects;
bool fromCenter = false;
// The selected rectangles are in
selectROI("Image", im, rects, fromCenter);
Bug Alert 2: I could not get the python version to work without documentation. The following code runs, but the variable rects is not populated. The function also does not return anything. If you find a fix, please let me know in the comments below.
Python
# Note this code does not work.
# Specify a vector of rectangles (ROI)
rects = []
fromCenter = false
# Select multiple rectangles
selectROI("Image", im, rects, fromCenter)


100K+ Learners
Join Free OpenCV Bootcamp3 Hours of Learning