Drone programming has become increasingly popular in recent years as drones have become more accessible and affordable. We are introducing a new series called Drone for Computer Vision with this article. Throughout the series, we will cover how to program a drone and deploy various computer vision applications.
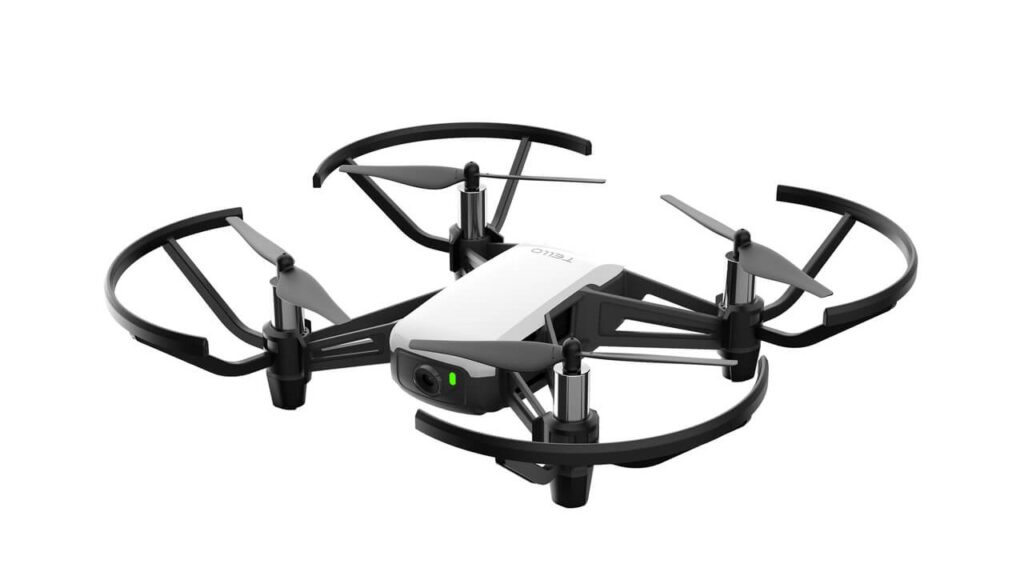
We will be using a Tello drone from Ryze Tech. Given the cost and ease of control, it’s one of the best drones for beginners. In this article, we will discuss how to program a Tello drone and control it.
- Getting Familiar With Tello Drone Kit
- Programming a Tello Drone
- Exploring DJI Tello SDK
- Communication Channels in Tello
- Code to Control Tello Drone in SDK Mode
- Drone Control Demonstration
Getting Familiar With Tello Drone Kit
Tello is a brand of small, lightweight drones produced by Chinese drone manufacturer Ryze Tech in collaboration with DJI. Tello drones are designed primarily for beginners and casual users, and they are known for being easy to fly and relatively affordable. Tello drones are often used for recreational purposes, such as taking aerial photos and videos, but they are best suited for educational purposes.

Tello drones come with various features, including a 720p camera for taking photos and videos, obstacle avoidance sensors, and programmable flight patterns. They can be controlled using a smartphone app or a remote controller, and fly for up to 13 minutes on a single battery charge. It lasted for about 7 minutes in our case.
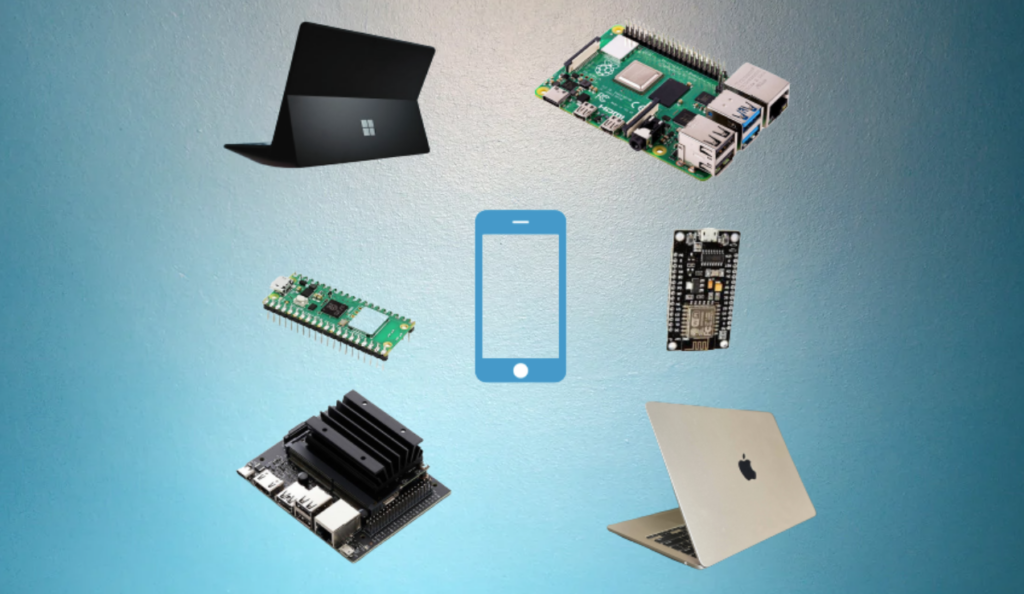
The best part is that it can be programmed from any device with a WiFi card, be it PC, Mac, Mobile, Raspberry Pi, Jetson Nano, and even Microcontrollers like ESP8266.

Programming a Tello Drone
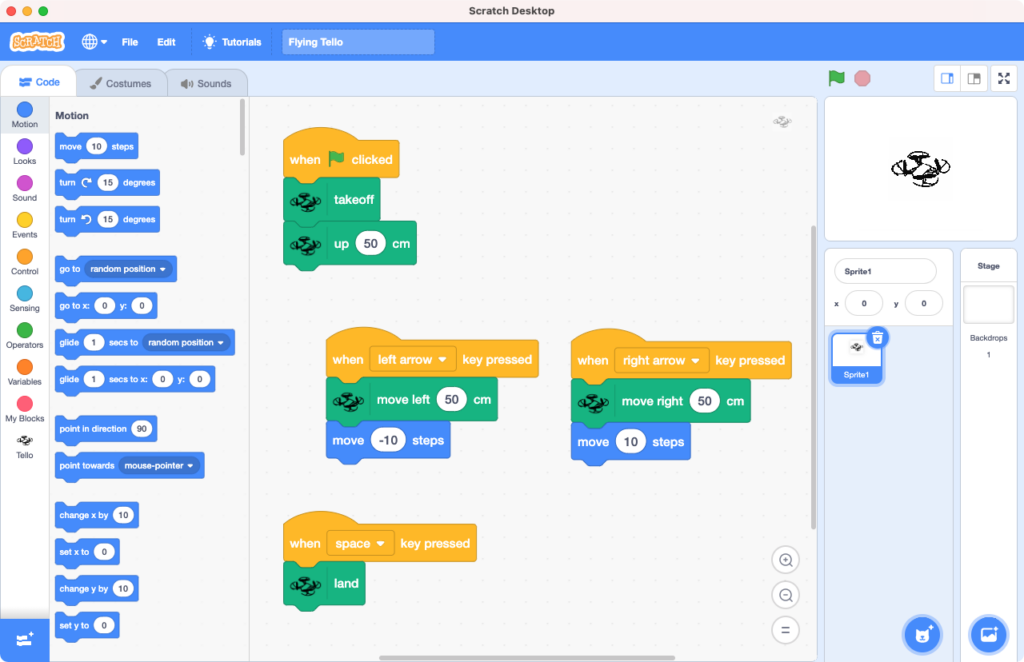
Tello drones can be programmed in many ways. One of them is using Scratch. It is designed to be simple, so you don’t have to code it from “scratch”. Scratch is a block-based drone programming interface, similar to 2D game engine Stencyl. It communicates with the Tello SDK and makes it easier to program the drone. However, it is intended for beginners and hence its applications are limited.

Luckily, Tello features a developer friendly SDK mode. You can communicate with Tello SDK using any language following the guidelines. In our case, we will stick to python.
Exploring DJI Tello SDK
The Tello SDK connects to the drone through a Wi-Fi UDP (User Datagram Protocol) port, allowing users to control the drone with text commands. The connection can be made using any device, be it a Mac, a PC, or a mobile device.
To activate the SDK mode, the drone should receive a string packet saying “command” via UDP port 8889. Following this, other commands can be sent. Tello has three types of commands.
- Control: These commands control the aircraft. For example, takeoff, land, forward, left, right, up, down, etc.
- Read: These commands return the current status of various parameters—for example, height, temperature, barometer, battery status, video stream, etc.
- Set: These commands set a particular value to certain parameters—for example, speed, rc control, wifi SSID password, etc.
Tello Edu ships a python script showing how to communicate with Tello aircraft. Let’s go through the drone programming code for a better understanding.
Communication Channels in Tello
As mentioned above, the demo script Tello.py communicates to the aircraft through UDP. There are three channels for communicating the above commands.
4.1 Send Command
The control commands are sent from IP address 192.168.10.1 via UDP port 8890. For each command sent, confirmation responses are received.
| Tello IP: 192.168.10.1 UDP Port: 8889 |
4.2 Receive Tello State
Tello states of various parameters are received through this channel. Here, we need to set up a UDP server on the PC and listen to the message from IP 0.0.0.0 via UDP port 8890.
| Tello IP: 192.168.10.1 UDP Server: 0.0.0.0 UDP Port: 8890 |
4.3 Receive Tello Video Stream
To receive video data, a UDP server has to be set on the PC. It has to listen to messages from IP address 0.0.0.0 via UDP port 11111.
| Tello IP: 192.168.10.1 UDP Server: 0.0.0.0 UDP Port: 11111 |
Code To Control Tello Drone in SDK Mode – Drone Programming
The drone programming demo script sets up a UDP server on the local machine to communicate with a Tello drone over Wi-Fi. A socket is created, which is then bound to a specific IP address. A thread is set up to listen for incoming data on the socket. Finally, it enters a loop that waits for user input. This input (the command) is sent to the Tello drone over the socket.
5.1 Import Dependencies
import threading
import socket
import sys
import time

host = ''
port = 9000
locaddr = (host,port)
We start by importing the necessary modules and setting up variables. host is set to an empty string, which means that the socket will listen on all available network interfaces. port is set to 9000, which is the default port used by Tello drones for communication. locaddr is a tuple that combines the host and port values.
5.2 Setup Socket and Drone Address
sock = socket.socket(socket.AF_INET, socket.SOCK_DGRAM)
sock.bind(locaddr)
tello_address = ('192.168.10.1', 8889)
We create a UDP socket using the socket module. The function socket.bind() binds the socket to the local address specified by the variable locaddr, so that it can receive data. Address of the Tello drone and the port is as per the dji documentation.
5.3 Function to Receive Data
The following function listens for incoming data on the socket. We are creating a separate thread since there will be another while loop for input commands.
def recv():
    count = 0
    while True:
        try:
            data, server = sock.recvfrom(1518)
            print(data.decode(encoding="utf-8"))
        except Exception:
            print ('\nExit . . .\n')
            Break
# Create a new thread for the recv function..recvThread = threading.Thread(target=recv)
recvThread.start()
In the code above, the line data, server = sock.recvfrom(1518) is used to receive data from a UDP socket.
The recvfrom() method receives incoming data where the argument 1518 is the maximum amount of data bytes to be received at once. This value is not arbitrary, but rather it corresponds to the maximum transmission unit (MTU) size for Ethernet frames. An Ethernet frame is a unit of data that is transmitted over a physical Ethernet connection, and it has a maximum size of 1518 bytes.
5.4 Command Main Loop
The following main loop section is pretty much self-explanatory. It initiates a command window that takes user inputs. These inputs (commands) are sent to the Tello drone for further action.
while True:
    try:
        msg = input("")
        if not msg:
            break
        if 'end' in msg:
            print ('...')
            sock.close()
            break
        # Send data.
        msg = msg.encode(encoding="utf-8")
        sent = sock.sendto(msg, tello_address)
    except KeyboardInterrupt:
        print ('\n . . .\n')
        sock.close()
        break
Drone Control Demonstration
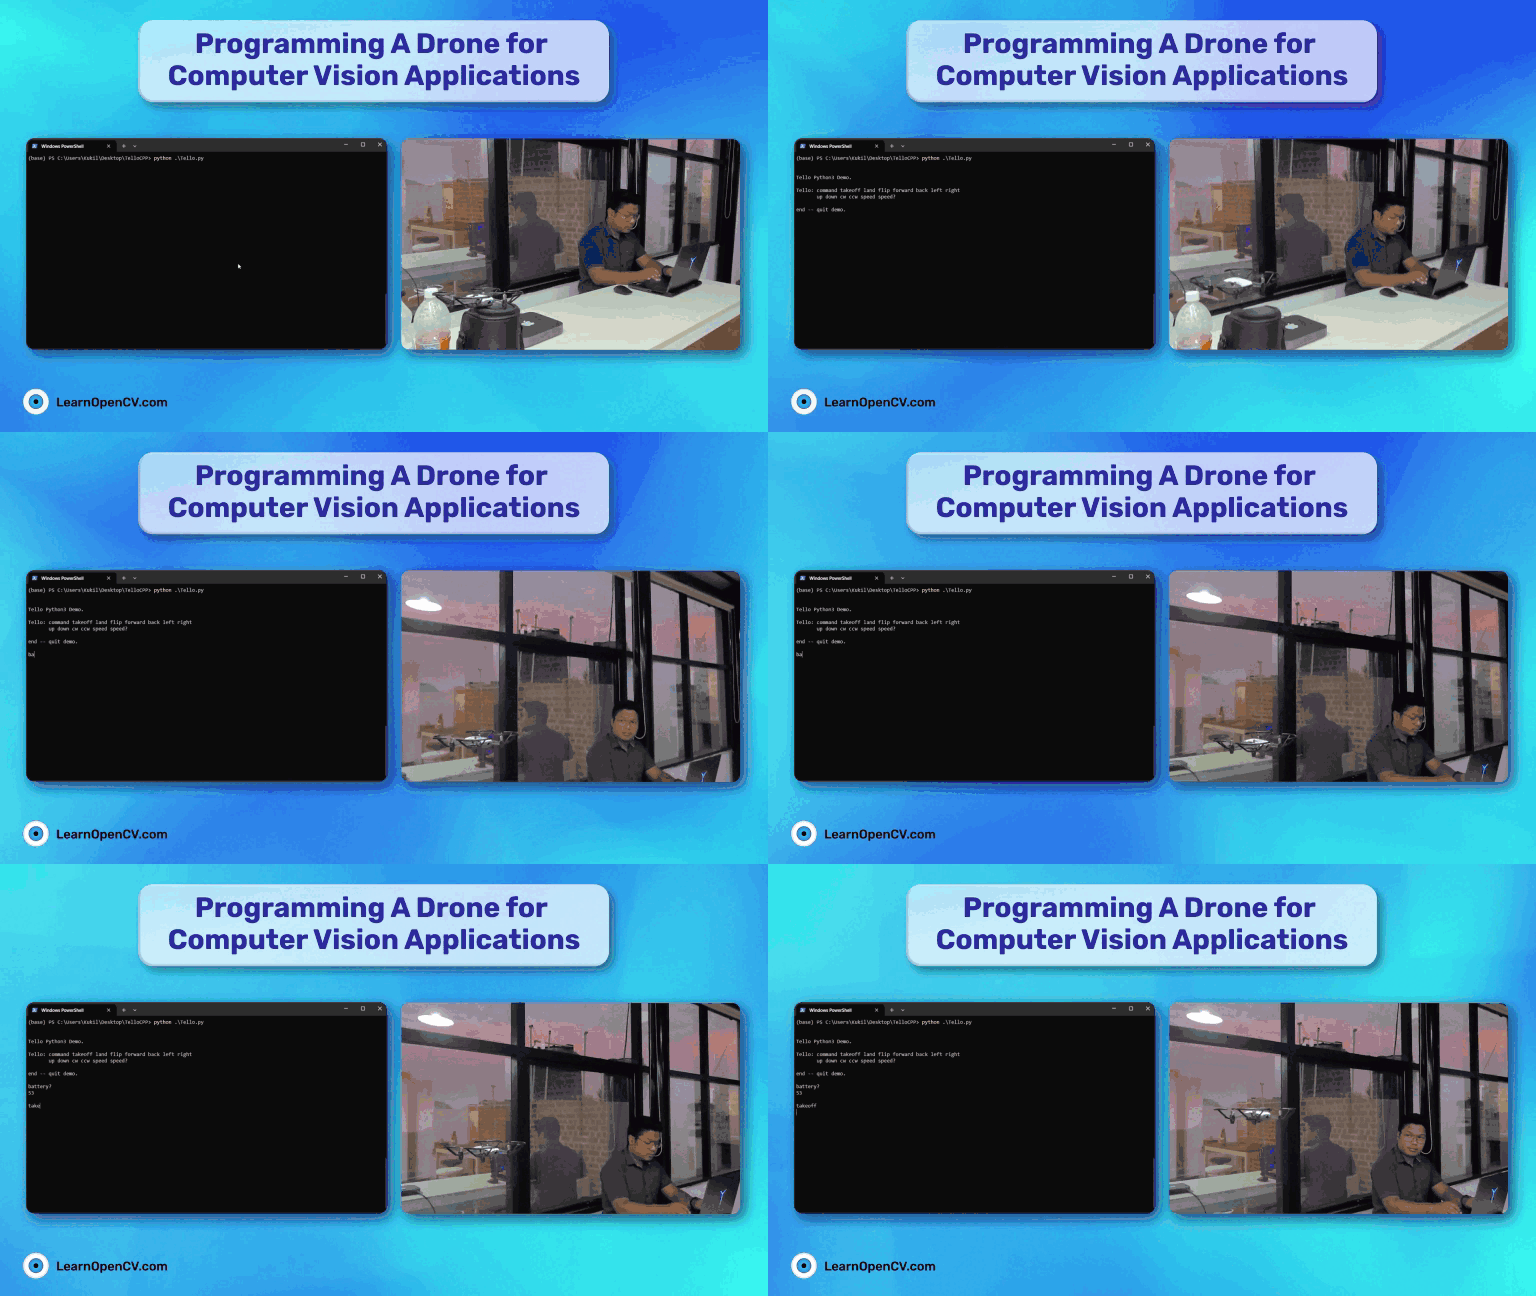
Now that we have been through the basics of drone programming let’s have some fun flying the drone.
Turn on the drone by pressing the button on the side. You will see red lights blinking, which means the drone is ON. Connect to the drone WiFi (it will be shown as tello) from your PC. Now run the script from the terminal/command. Note that you only need Python 3.x and no other dependencies are required.
Steps:
- Enter the instruction string
commandin the input field. This will ready the aircraft in SDK mode. - Enter the command
battery?, this will show the battery percentage. - The command
takeoffwill start the propellers, and the drone will be airborne. - Use the command
landto land the drone.
Conclusion – Drone Programming
That’s all about the basics of drone programming. Check out the dji documentation for further controls. Play with the commands to move the drone in different directions. There are many interesting commands, such as flipping the drone in the air, landing it on your palms, and more.
However, to be honest, this is the worst possible way to control a drone. Take, for example, you are about to hit a wall. Good luck typing long commands before it hits. A better way would be to program dedicated buttons for various commands. We will cover it in our next post. We will also program it to receive video streams in real-time.
I hope you enjoyed the article and it helped you learn the basics of drone programming using the DJI Tello SDK. Happy learning!
Yes definitely! DJI Tello drone can be programmed using Python SDK.
No unfortunately not. DJI Tello drone does not have GPS built in. However, for the price – it’s justified.


