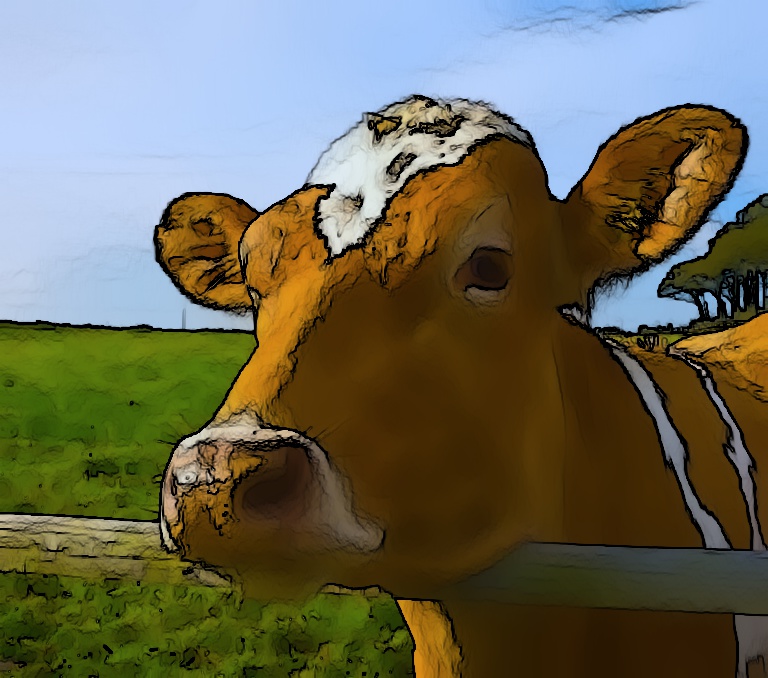
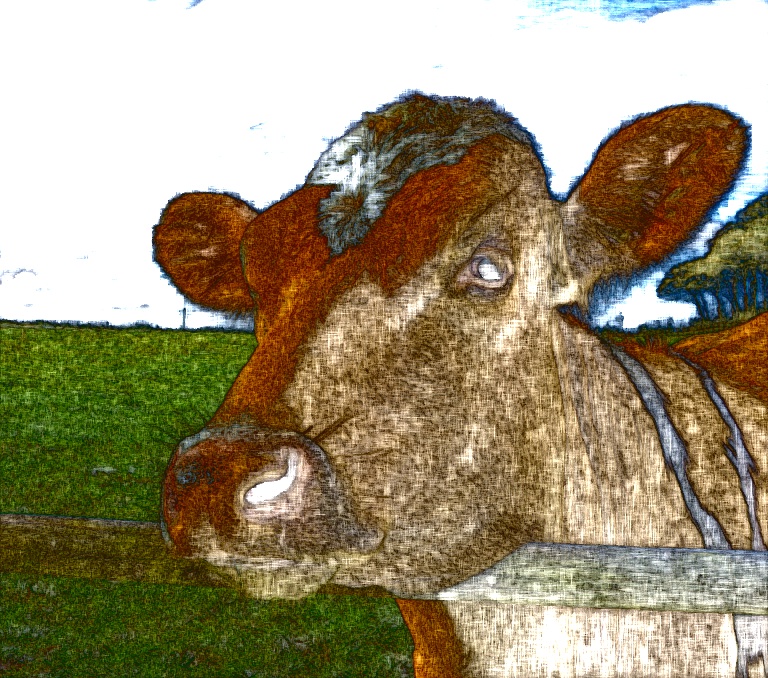
Many years back, when I was a student, I wanted to write a filter that would create a stylized / cartoonized image like the one shown above. In my naivety I thought I could simply blur the image using a Gaussian kernel, separately detect the edges, and combine the two images to get a stylized image. After all the image looks smooth in most areas, but the edges are preserved. The results looked ridiculous; it was an awful idea! A few weeks after my failed experiment I read about Bilateral Filtering which is probably the most common edge preserving smoothing filter used in Computer Vision. While Bilateral Filtering did the job, it was slow as hell. You would never use it in a real time application.
I am pleased to see a very fast implementation of edge preserving filtering in OpenCV 3. The results are very similar to Bilateral Filtering, but it is way faster. It is a partial implementation of a SIGGRAPH 2011 paper titled “Domain transform for edge-aware image and video processing” by Eduardo Gastal and Manuel Oliveira. The next section provides links for people who are interested to dig deeper into theory.
Domain Transform for Edge-aware Filtering
The author, Eduardo Gastal, provides a lot of material on his project page explaining the paper and its application. If you don’t have much time, the video below provides an excellent high level overview of the method.
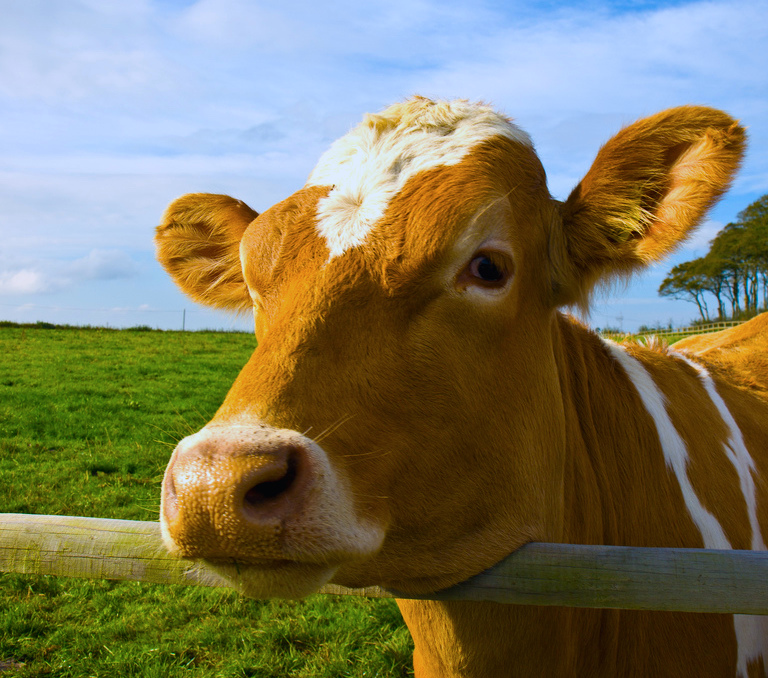
In OpenCV 3, the paper has been implemented using four functions in the Computational Photography submodule under the Photo module. The following sections explain these functions and their parameters with examples. In all the examples, we will use the image below as the input image.
Edge Preserving Filter ( edgePreservingFilter )
The first among these filters is called edgePreservingFilter.
C++
edgePreservingFilter(Mat src, Mat dst, int flags=1, float sigma_s=60, float sigma_r=0.4f)
Python
import cv2
dst = cv2.edgePreservingFilter(src, flags=1, sigma_s=60, sigma_r=0.4)
where,
| src | Input 8-bit 3-channel image | |
| dst | Output 8-bit 3-channel image. | |
| flags | Edge preserving filters. It takes value RECURS_FILTER ( Recursive Filtering ) = 1 and NORMCONV_FILTER ( Normalized Convolution ) = 2. Using RECURS_FILTER option is about 3.5x faster than NORMCONV_FILTER. The NORMCONV_FILTER produces sharpening of the edges and it good for applications like stylizations. When sharpening is not desirable, and speed is important RECURS_FILTER should be used. | |
| sigma_s | Range between 0 to 200 (See details below) | |
| sigma_r | Range between 0 to 1 (See details below) |
What do the parameters sigma_s and sigma_r mean ?
Most smoothing filters (e.g. a Gaussian or a Box filter) in image processing and computer vision have a parameter called sigma_s (for Sigma_Spatial) that determines the amount of smoothing. A typical smoothing filter replaces the value of a pixel by the weighted sum of its neighbors. The bigger the neighborhood, the smoother the filtered image looks. The size of the neighborhood is directly proportional to the parameter sigma_s.
In edge preserving filters there are two competing objectives — a) smooth the image b) don’t smooth the edges / color boundaries. In other words we cannot simply replace the color of a pixel by the weighted sum of its neighbors. Instead, we want to replace the color value at a pixel by the average of pixels in the neighborhood which also have color similar to the pixel. So we have two parameters : sigma_s and sigma_r. Just like other smoothing filters sigma_s controls the size of the neighborhood, and sigma_r (for sigma_range) controls the how dissimilar colors within the neighborhood will be averaged. A larger sigma_r results in large regions of constant color.
Results ( edgePreservingFilter )
The result of applying edgePreservingFilter with RECURS_FILTER is shown below.
The result of applying edgePreservingFilter with NORMCONV_FILTER is shown below.
As you can see the two results are pretty close, and therefore I recommend using RECURS_FILTER because it is way faster than NORMCONV_FILTER.
Detail Enhancing Filter ( detailEnhance )
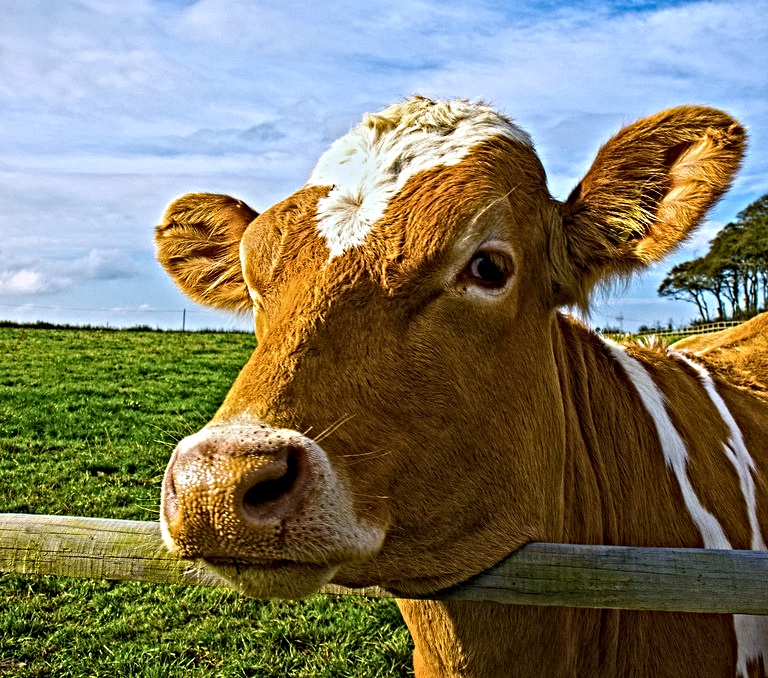
As the name suggests the filter enhances the details, and makes the image look sharper.
C++
detailEnhance(Mat src, Mat dst, float sigma_s=10, float sigma_r=0.15f)
Python
import cv2
dst = cv2.detailEnhance(src, sigma_s=10, sigma_r=0.15)
The parameters are the same as the Edge Enhancing Filter .
Results ( detailEnhance )
The image below shows the result detail enhancing filter. Notice the entire image is much sharper than the input image.
Pencil Sketch Filter ( pencilSketch )
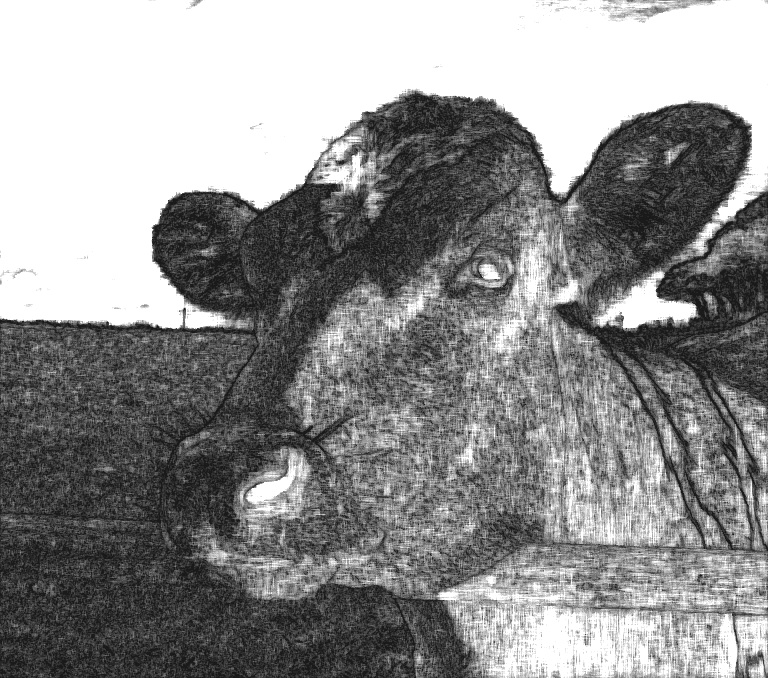
This filter produces an output that looks like a pencil sketch. There are two outputs, one is the result of applying the filter to the color input image, and the other is the result of applying it to the grayscale version of the input image. Frankly, I am not very impressed with this filter because the results don’t look awesome.
C++
pencilSketch(Mat src, Mat dst_gray, Mat dst_color, float sigma_s=60, float sigma_r=0.07f, float shade_factor=0.02f)
Python
import cv2
dst_gray, dst_color = cv2.pencilSketch(src, sigma_s=60, sigma_r=0.07, shade_factor=0.05)
The parameters are the same as the Edge Enhancing Filter. shade_factor ( range 0 to 0.1 ) is a simple scaling of the output image intensity. The higher the value, the brighter is the result.
Results ( pencilSketch )
The result of applying pencilSketch filter to the input image is shown below.
Stylization Filter ( stylization )
The stylization filter produces a output that looks like the image was painted using water color.
C++
stylization(Mat src, Mat dst, float sigma_s=60, float sigma_r=0.45f)
Python
import cv2
dst = cv2.stylization(src, sigma_s=60, sigma_r=0.07)
Results ( stylization )
Image Credit : The image of the cow is licensed under Creative Commons ( CC by 2.0 ). You can find it here.







100K+ Learners
Join Free OpenCV Bootcamp3 Hours of Learning