

In this blog post, we will be installing OpenCV on Windows for C++ and Python. The C++ installation is done with the help of custom setup exe files. Whereas Python installation is done with Anaconda.
Installing OpenCV from source takes up a lot of time. Depending on your hardware, and the installation configuration, it can take anywhere from 5 minutes up to 2 hours. Moreover, the installation is not a cakewalk. Hence, we have come up with a solution for Windows users – OpenCV Windows installers. These installers will only work for installing OpenCV for C++. If you want to install OpenCV for Python, you’ll find the information later in the blog.
If you want to install OpenCV 4 on Windows from source, then check out this blog post.
Install OpenCV on Windows for CPP
Step 1: Prerequisites
You need Visual Studio pre-installed on your system. You can download the latest version of Visual Studio from here. Otherwise, you can find older versions from here.
Step 2: Download the Installer
Once you have set up Visual Studio on your system, download the installer according to the Visual Studio version you have installed.
| OpenCV Version | Visual Studio 16 | Visual Studio 15 | Visual Studio 14 |
|---|---|---|---|
| OpenCV-4.5.0 | OpenCV-4.5.0-vc16.exe | OpenCV-4.5.0-vc15.exe | OpenCV-4.5.0-vc14.exe |
| OpenCV-4.4.0 | OpenCV-4.4.0-vc16.exe | OpenCV-4.4.0-vc15.exe | OpenCV-4.4.0-vc14.exe |
| OpenCV-4.1.0 | OpenCV-4.1.0-vc16.exe | OpenCV-4.1.0-vc15.exe | OpenCV-4.1.0-vc14.exe |


Step 3: Install OpenCV on Windows
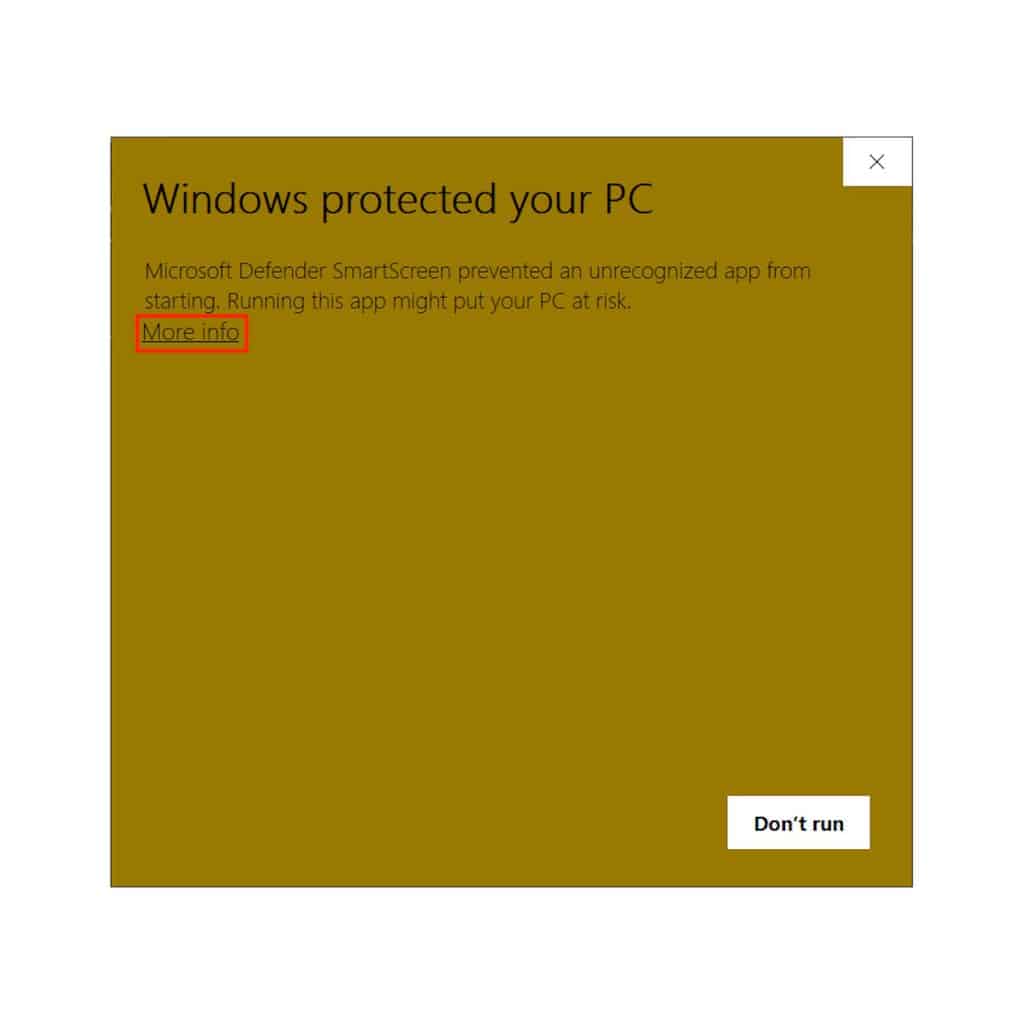
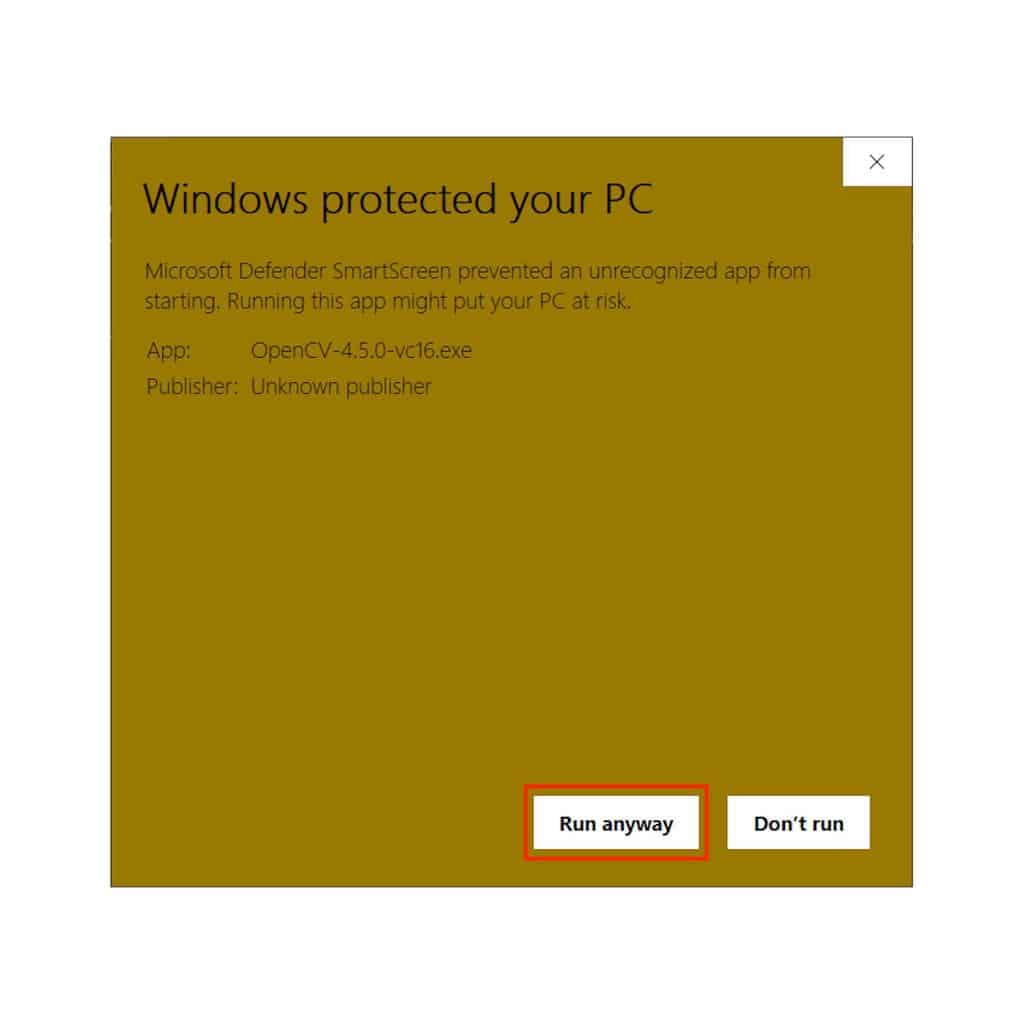
Once you download the installer, double click it to run the installer. Before the installer starts, it’ll ask you permission to run the executable. Click on More info and then on Run anyway.
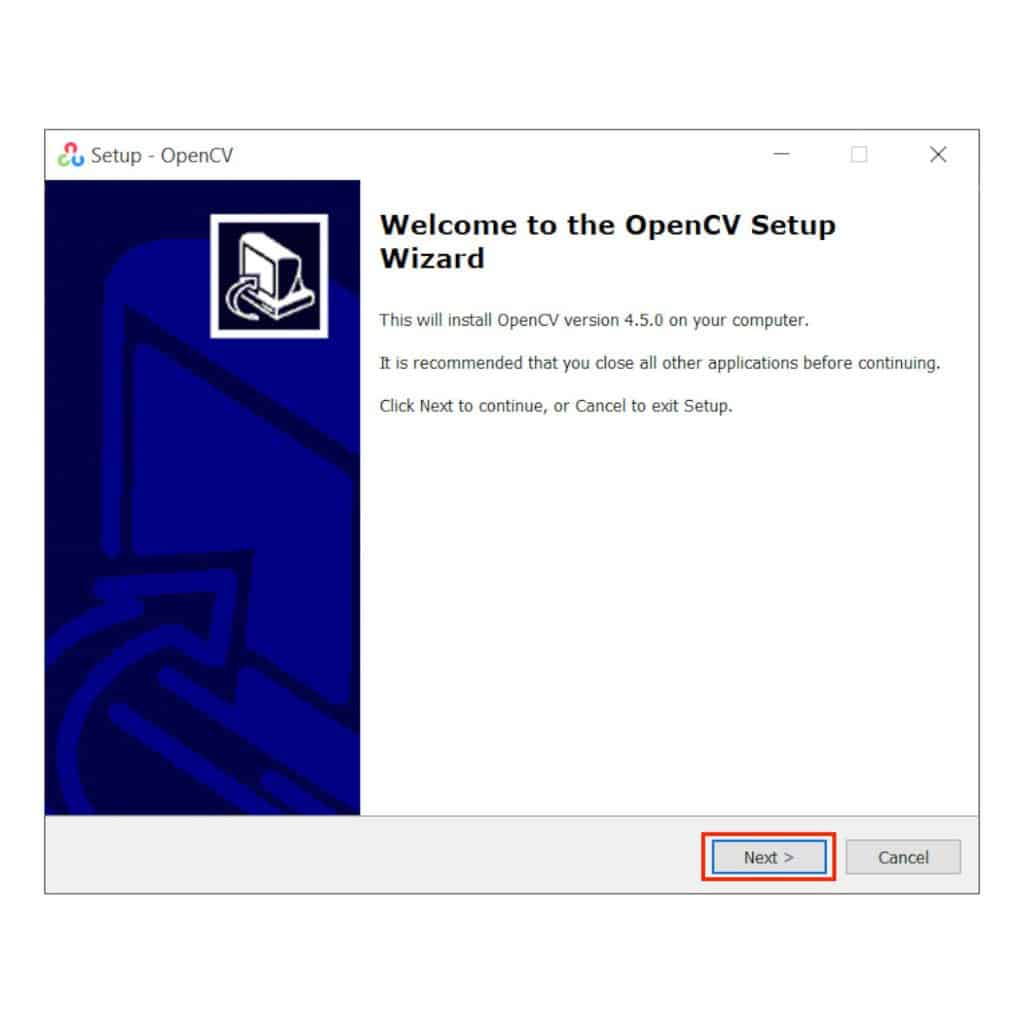
The installer starts with a welcome screen. Click on Next to read the License.
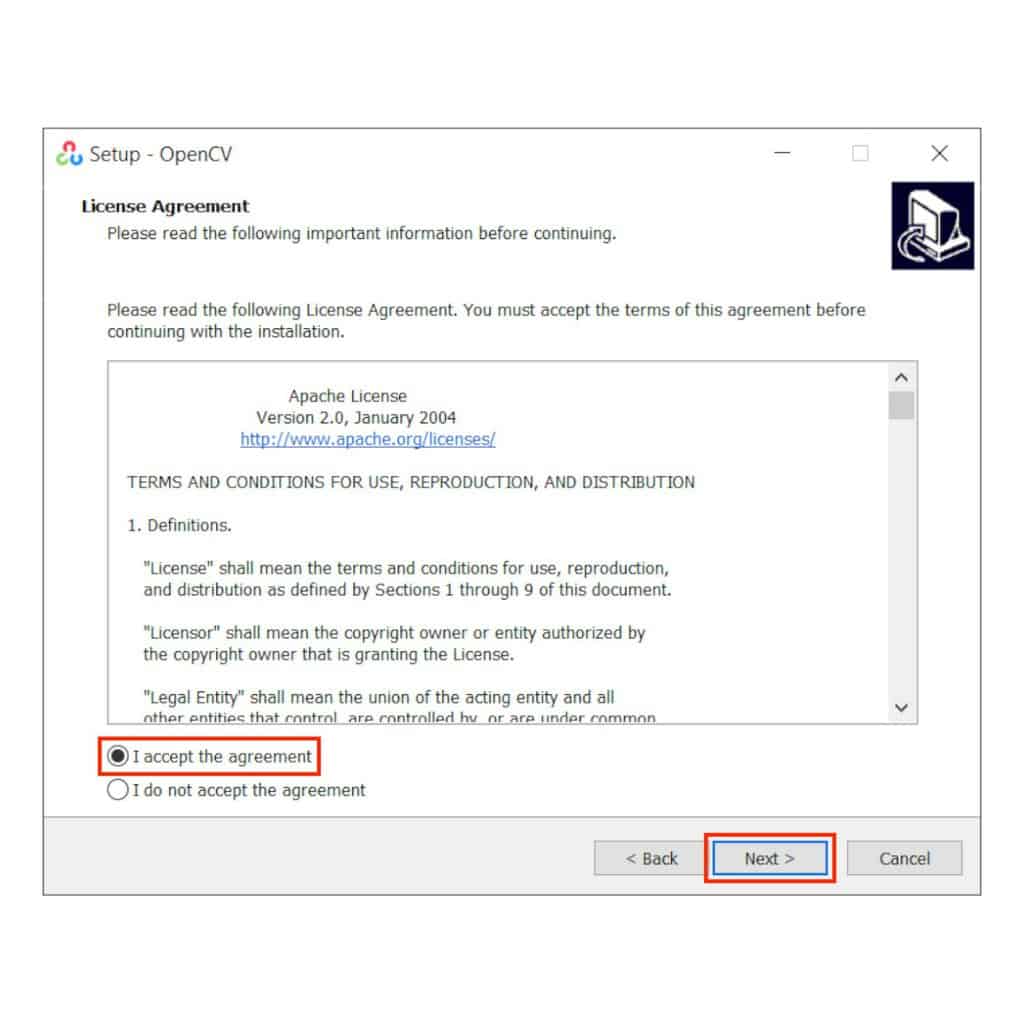
If you accept the license, click on I accept the agreement and click on Next.
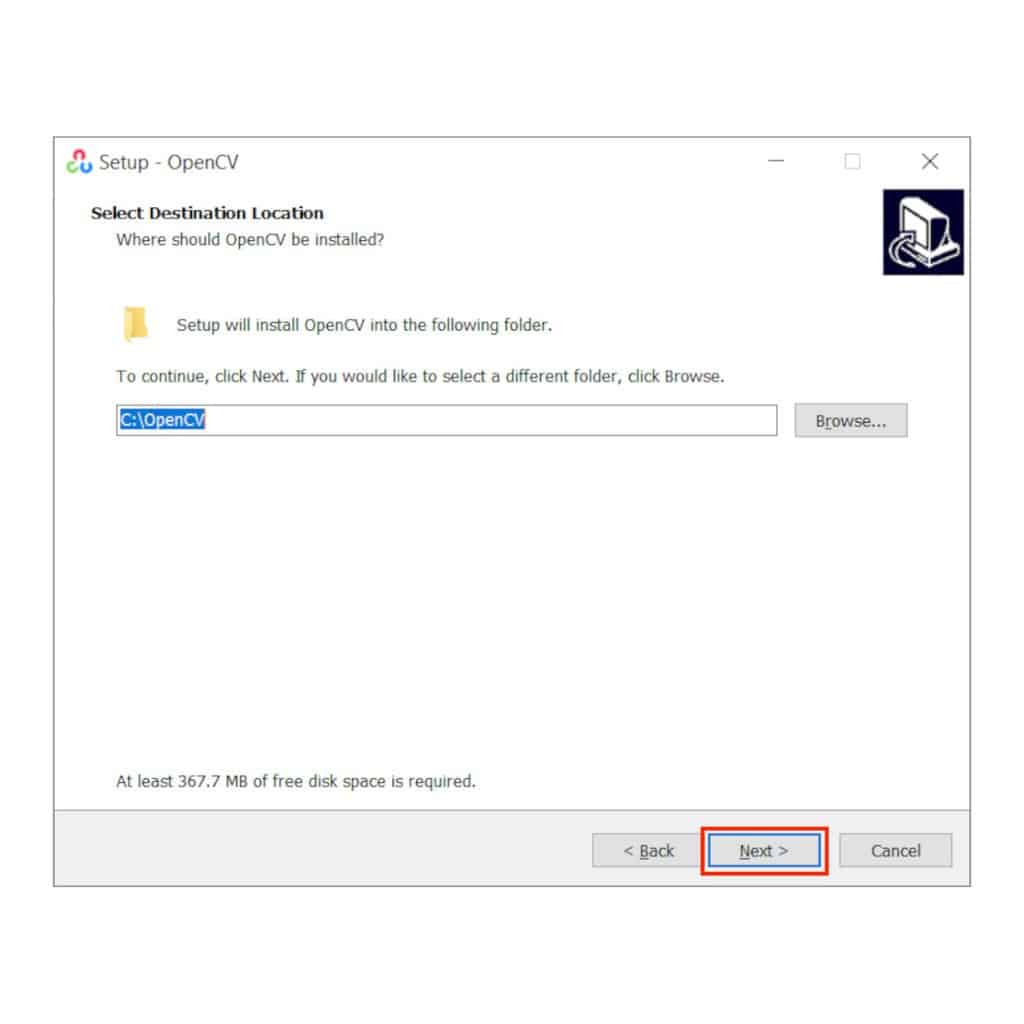
Next, it’ll ask you to choose the installation folder. You can install OpenCV anywhere on the system. The default location is C:.
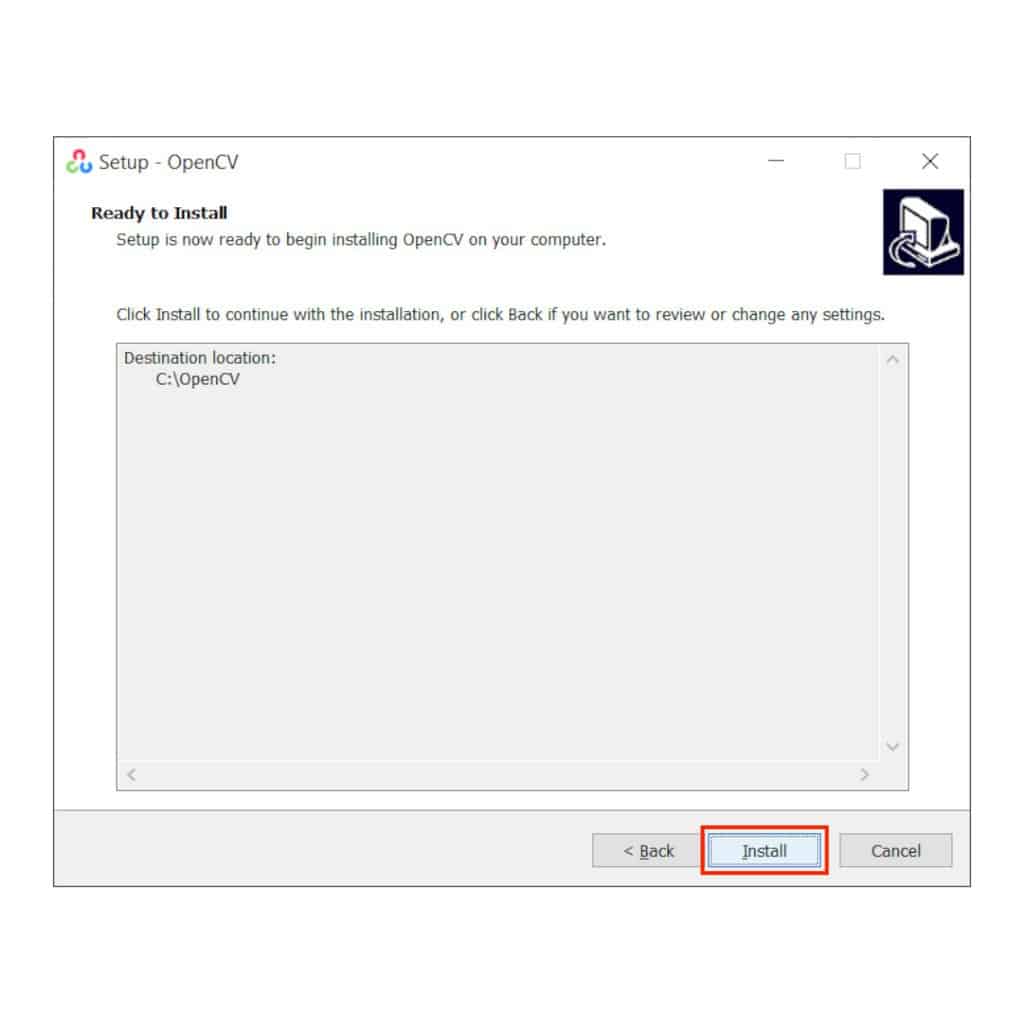
Finally, the installer will ask you for confirmation to install OpenCV on the system. Click on Install to continue.
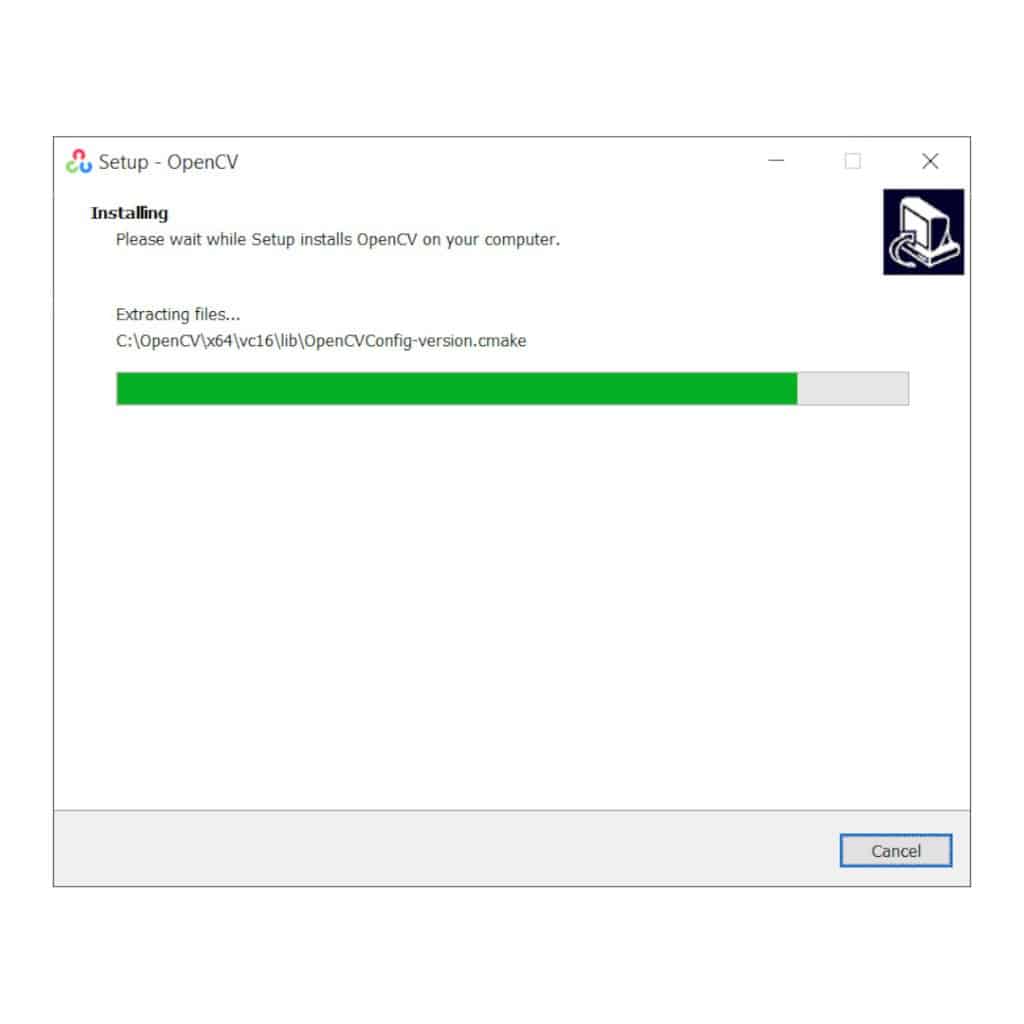
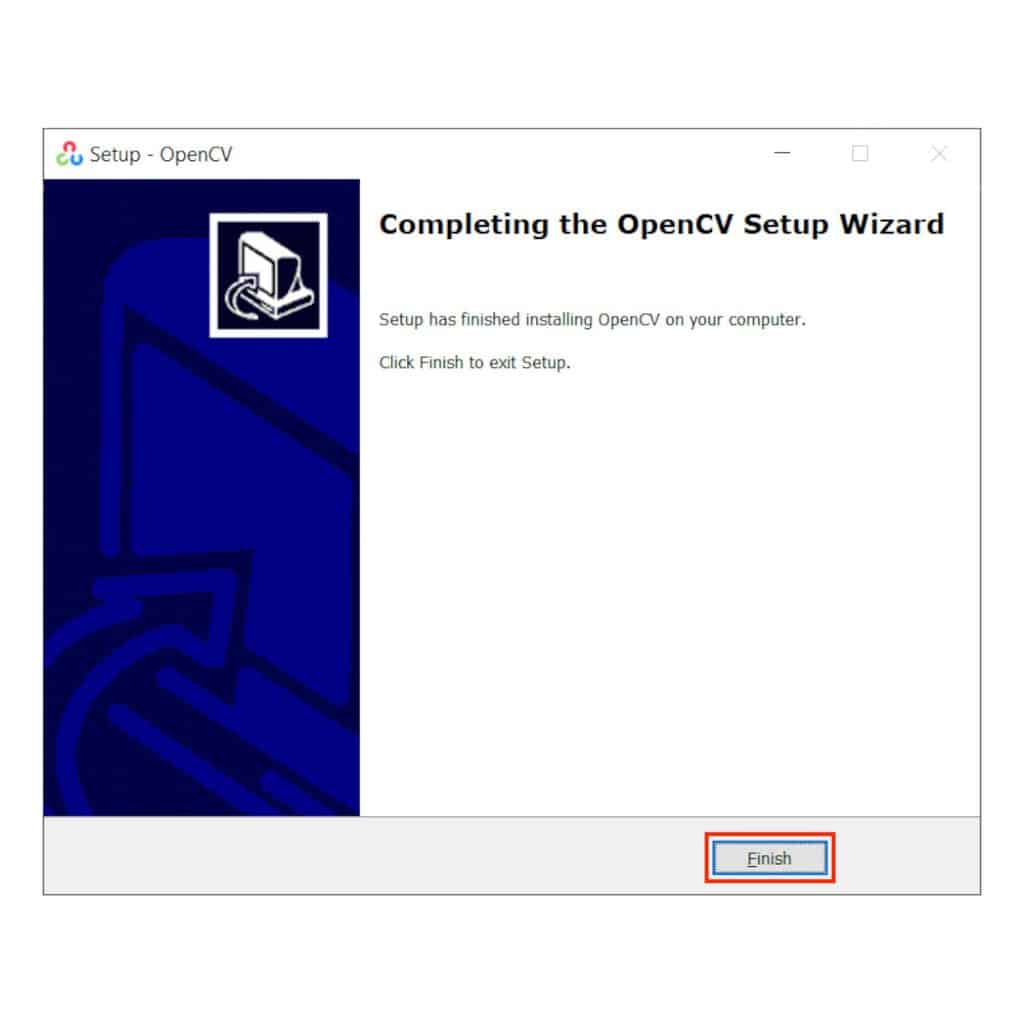
After OpenCV is installed, you can exit the installer.
Step 4: Execute a sample code
Once the OpenCV installation is completed, you can start coding right away. We have provided with a sample code to test the installation. Below is the code snippet.
You can download the code using this link.
#include <opencv2/opencv.hpp>
using namespace cv;
int main(void) {
	// Read image in GrayScale mode
	Mat image = imread("boy.jpg", 0);
	// Save grayscale image
	imwrite("boyGray.jpg", image);
	// To display the image
	imshow("Grayscale Image", image);
	waitKey(0);
	return 0;
}


100K+ Learners
Join Free OpenCV Bootcamp3 Hours of Learning